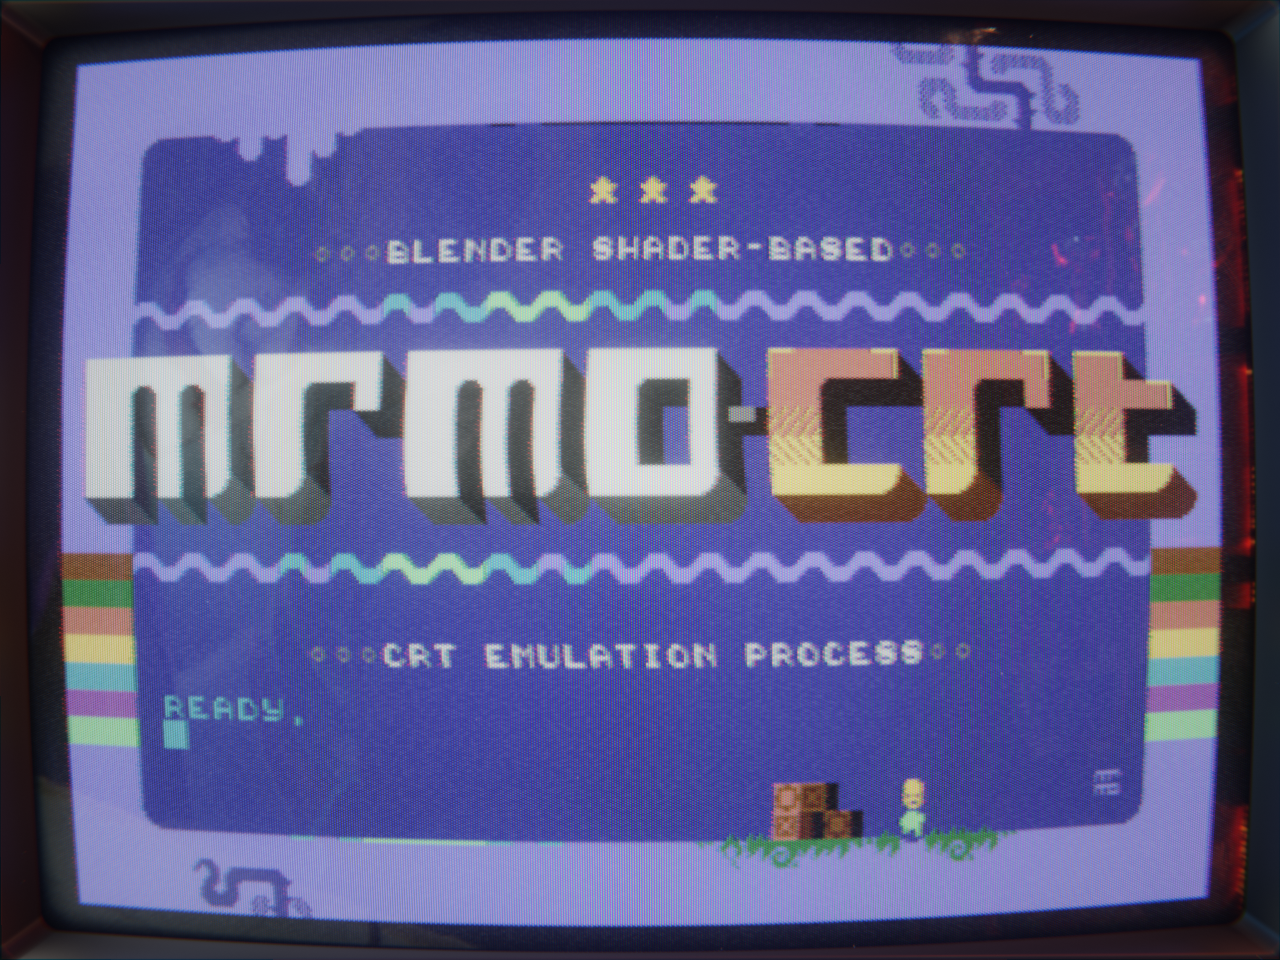
MRMO-CRT
A downloadable CRT emulation process
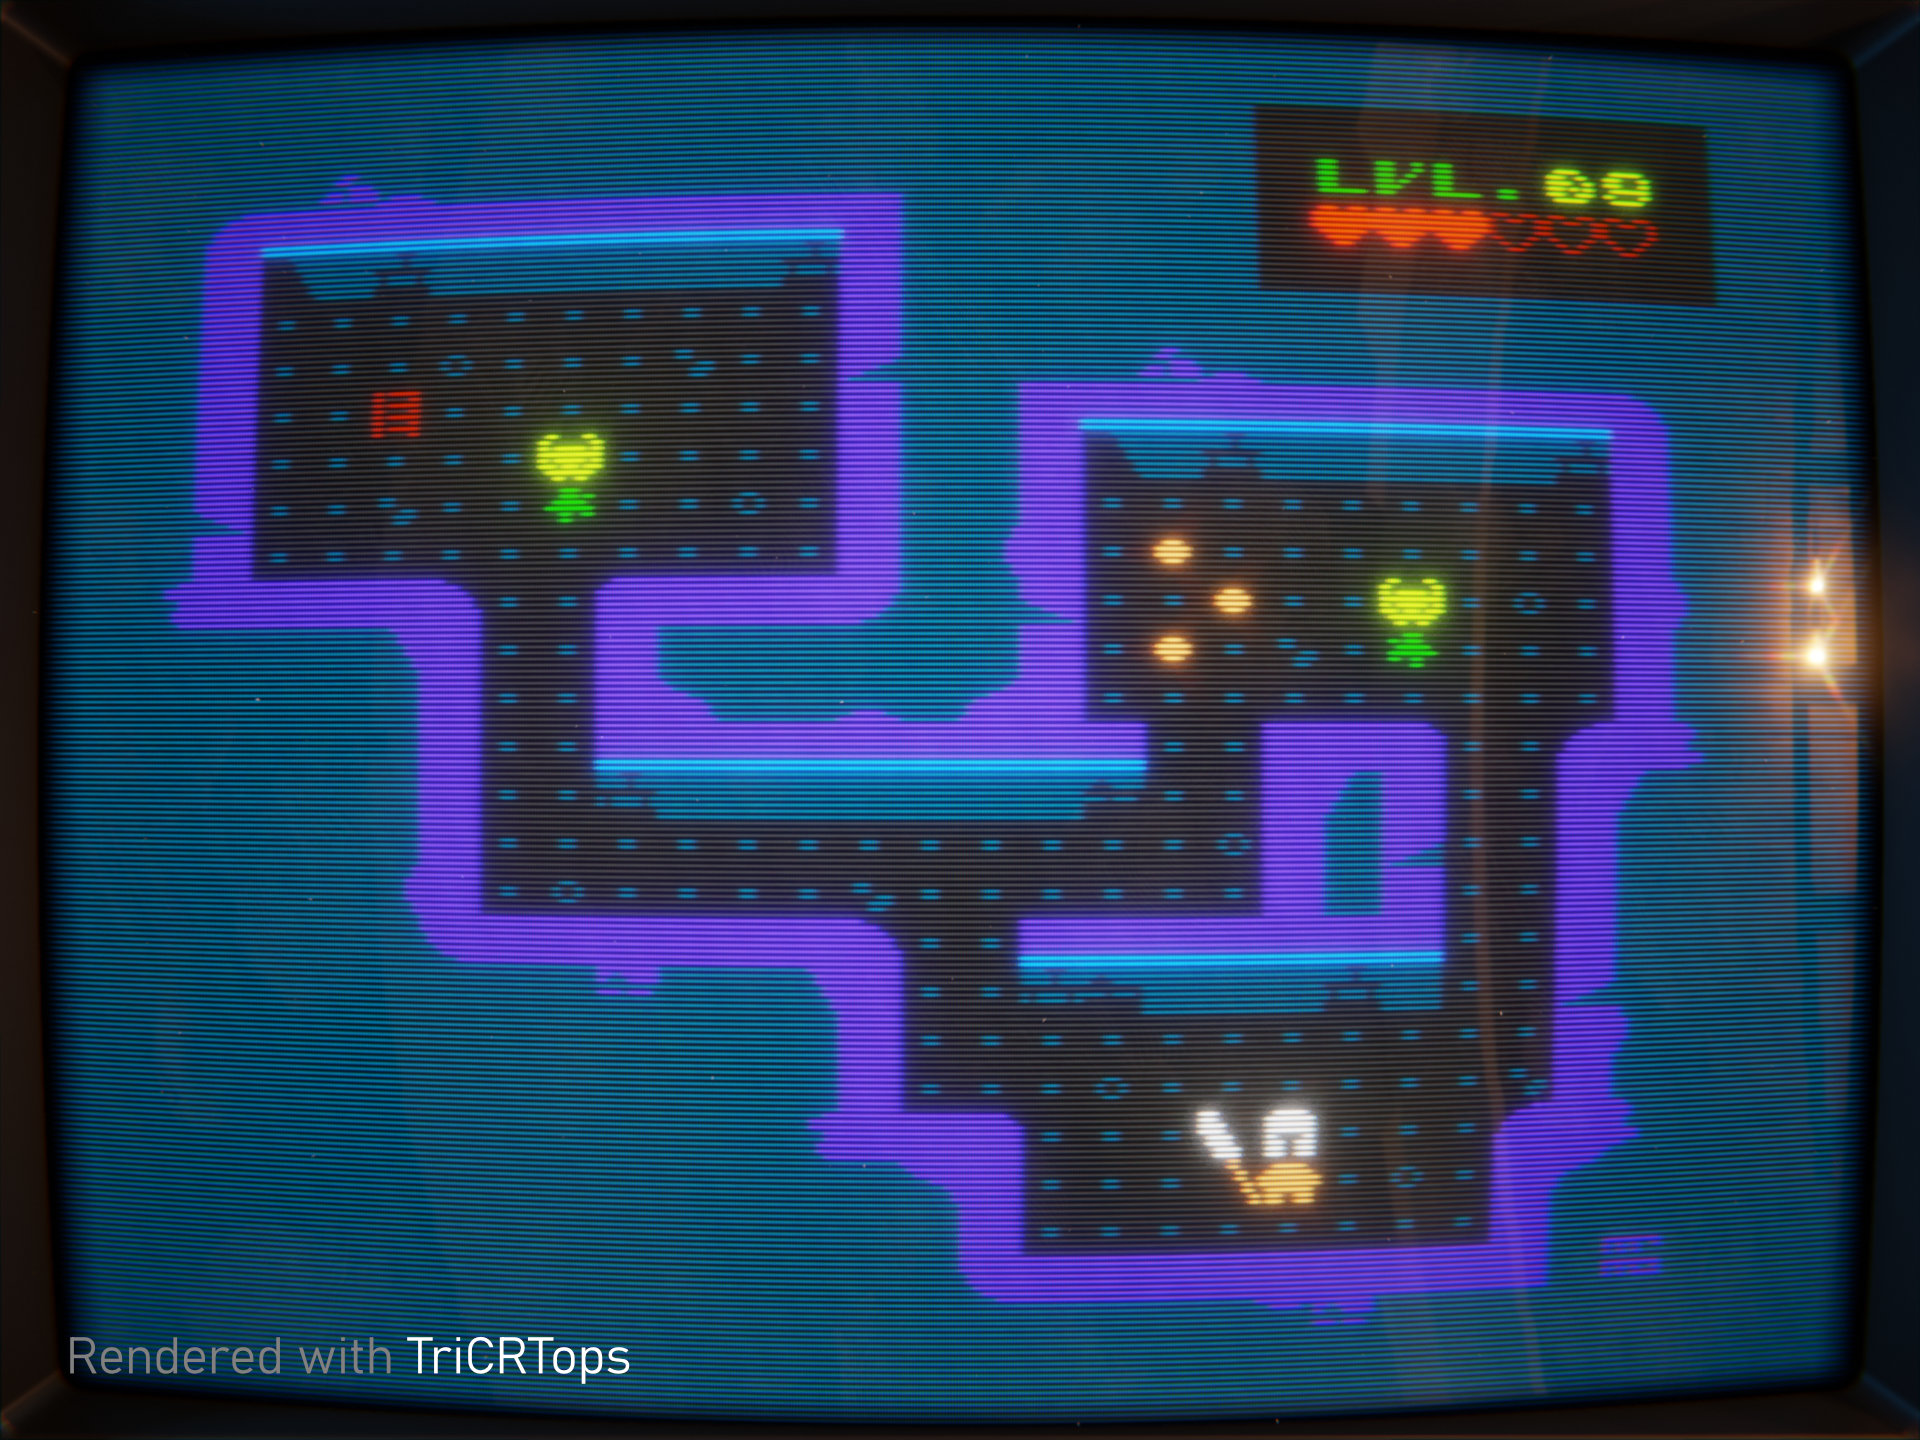
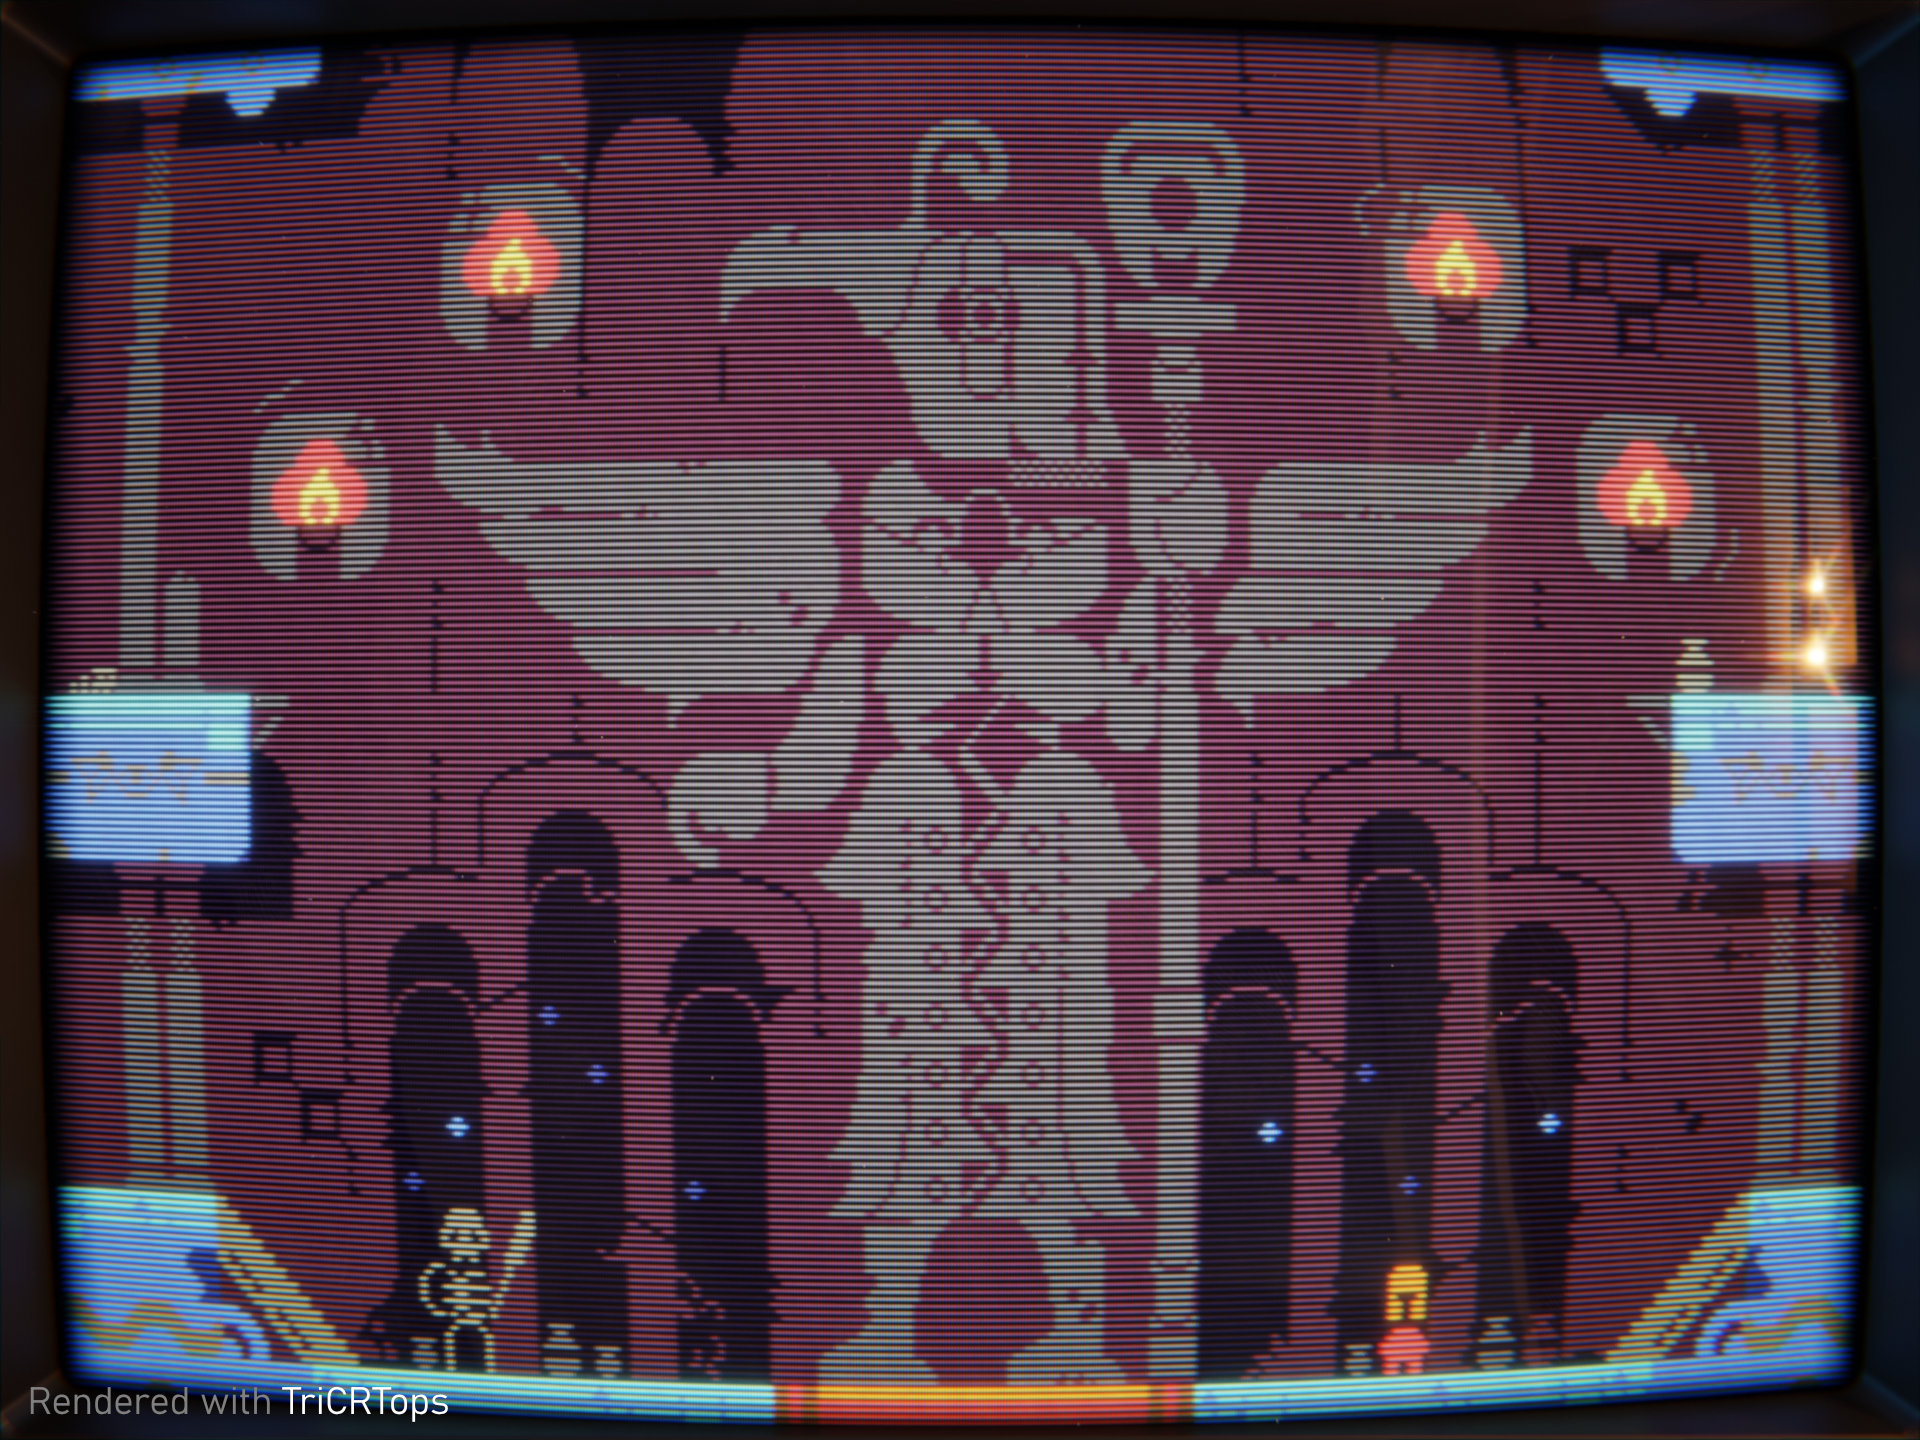
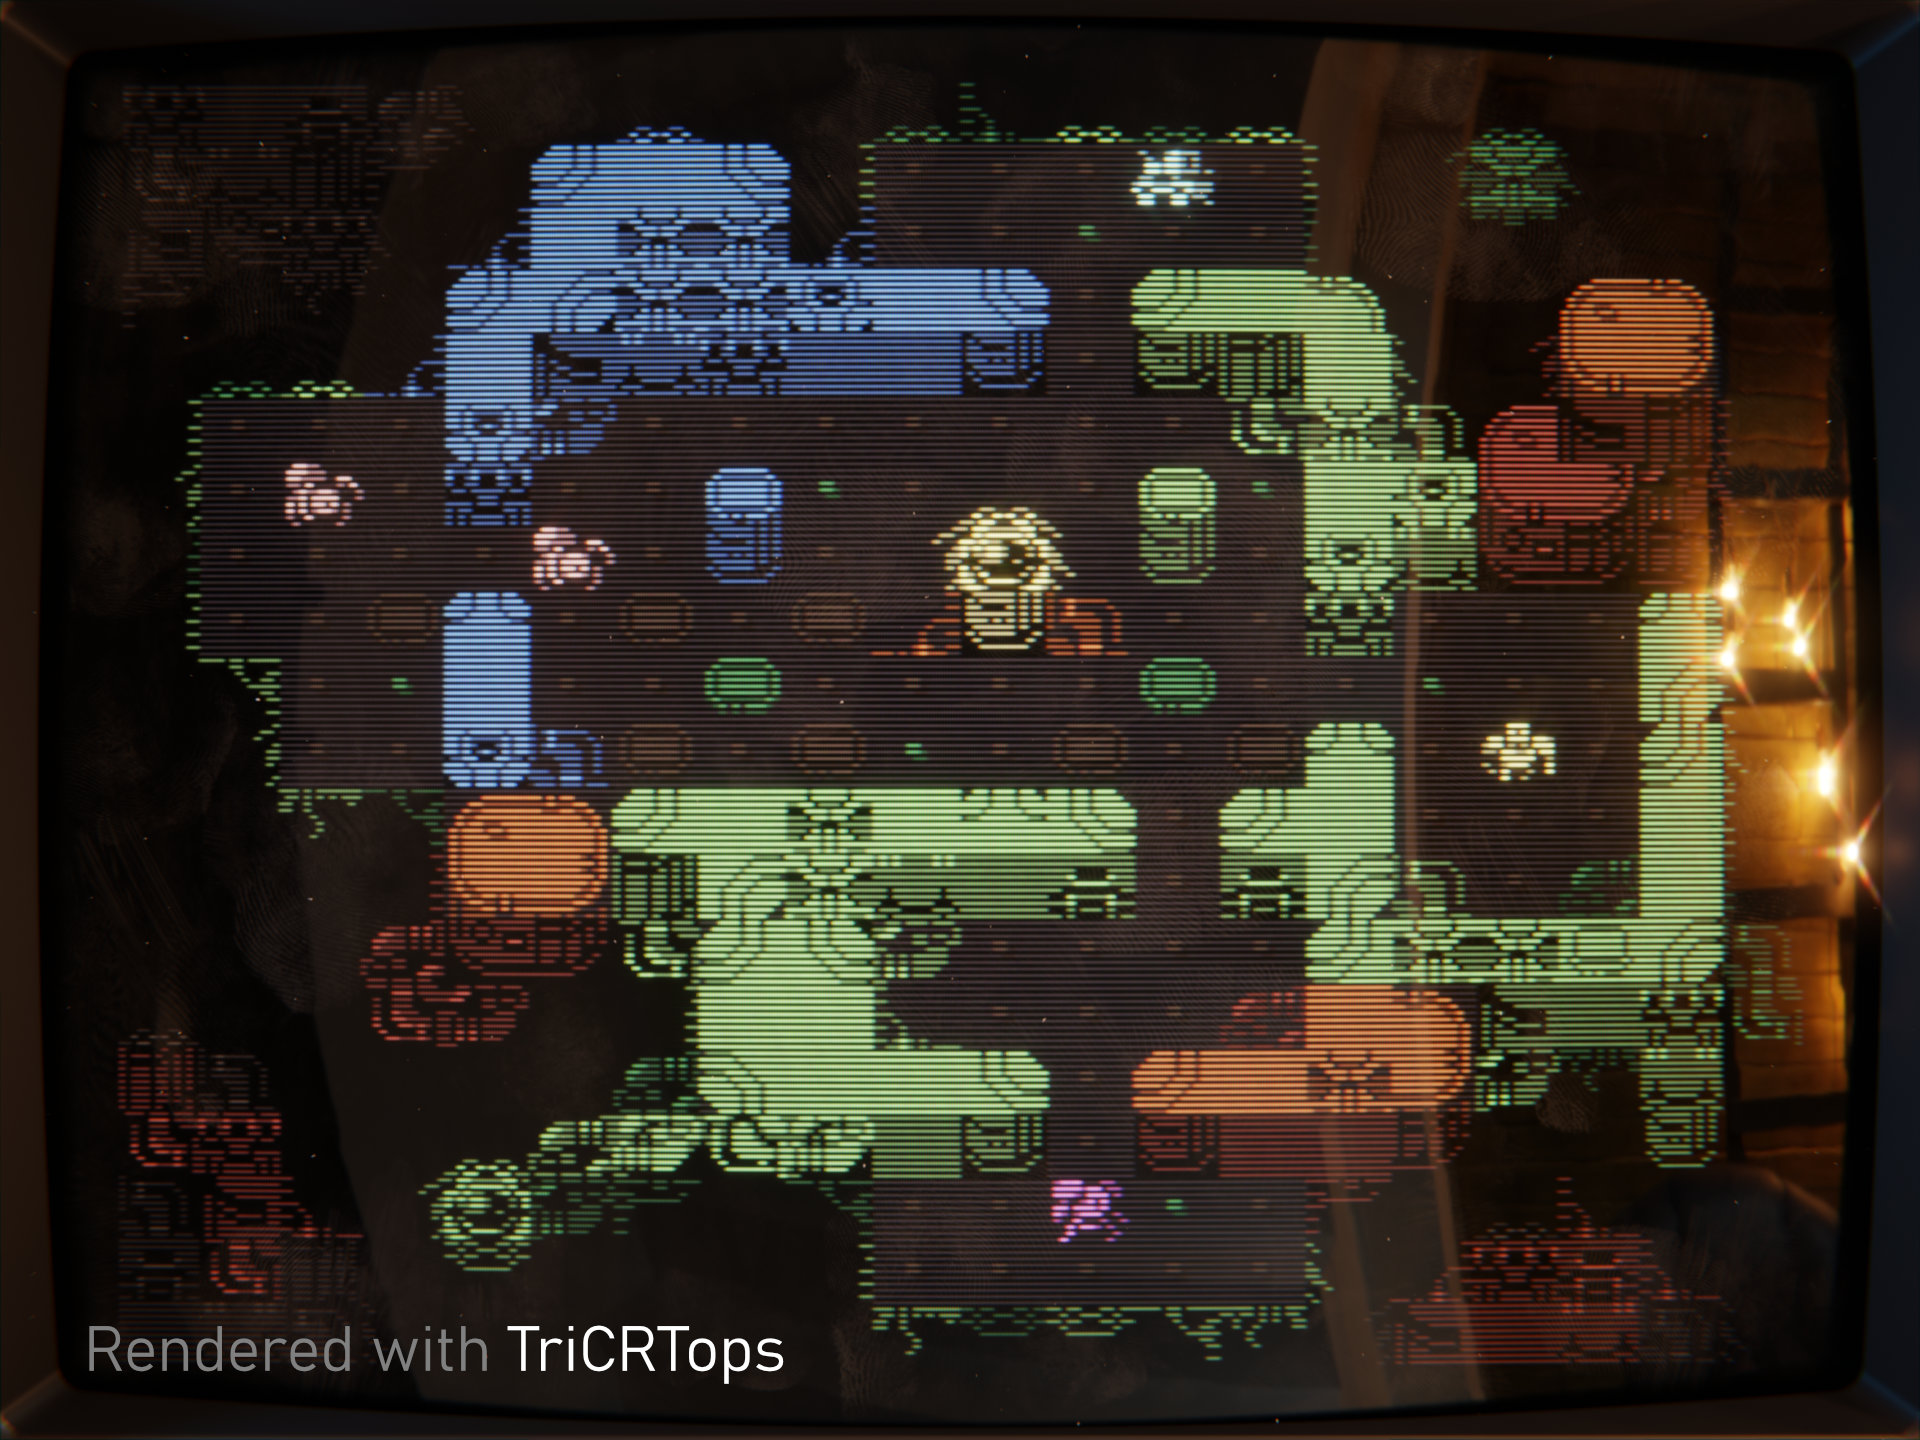
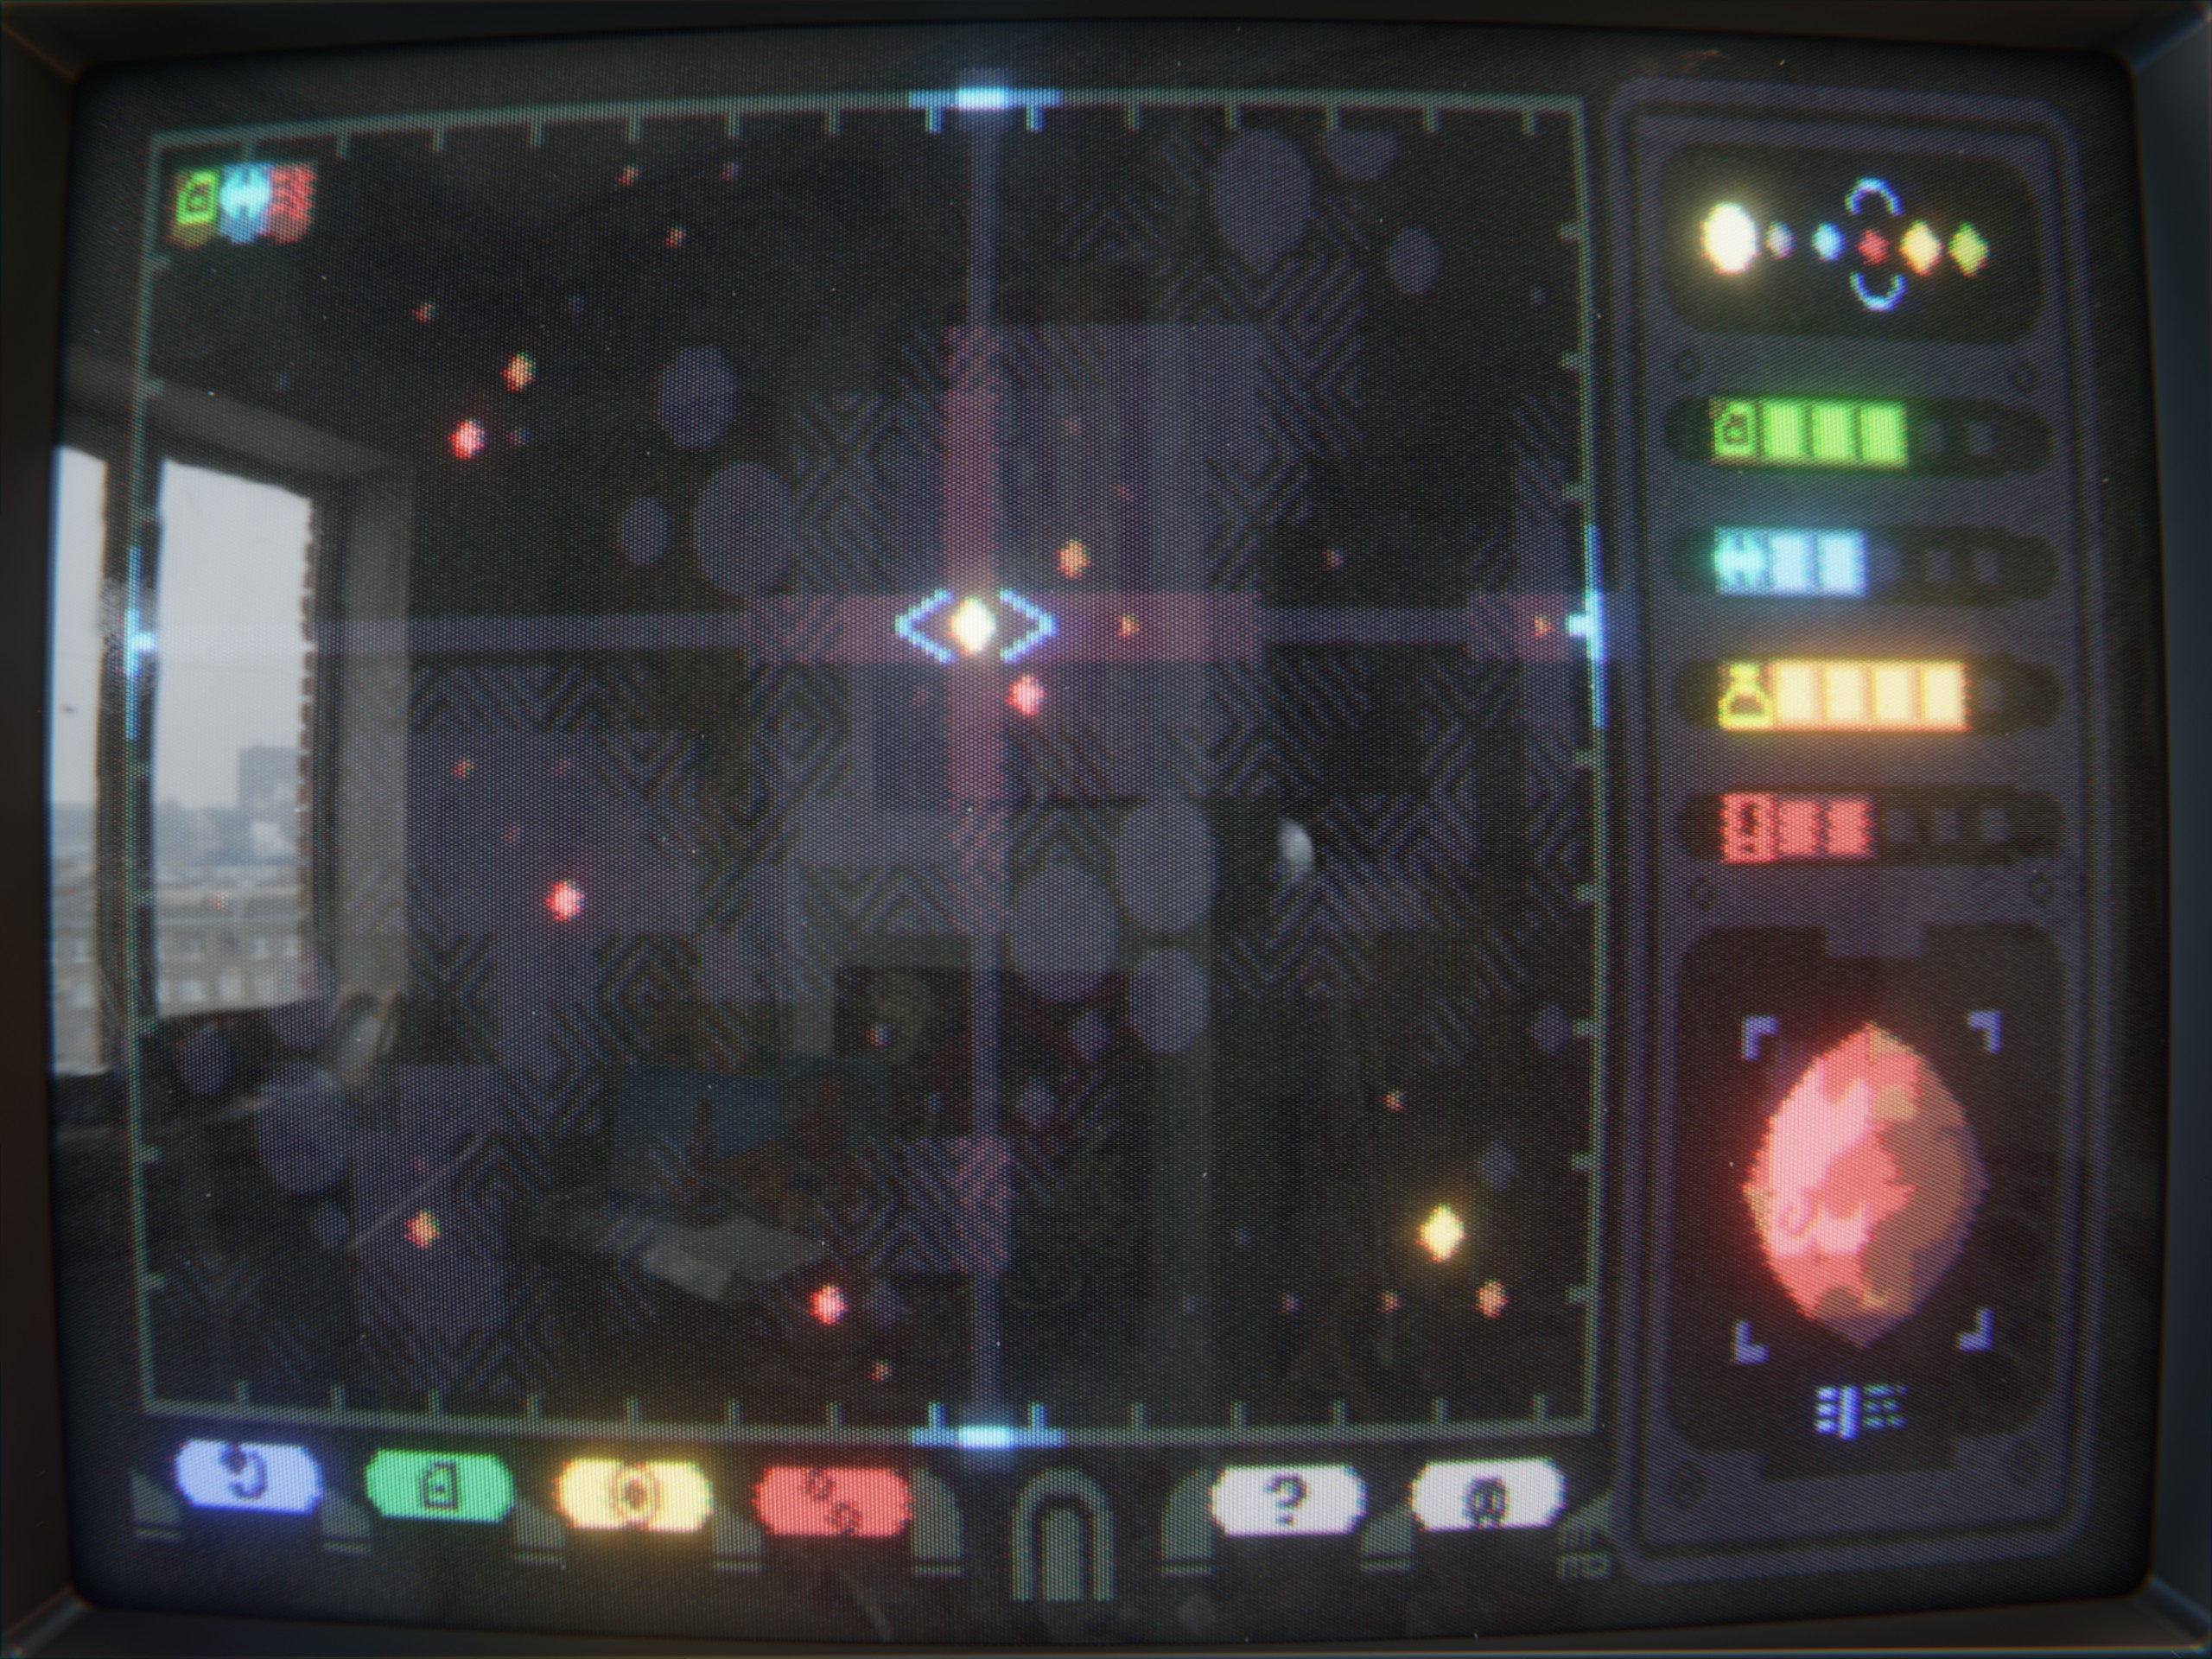
MRMO-CRT is a Blender shader-based CRT emulation process that aims to evoke the "feel" of CRT displays.

It works in Eevee and Cycles render engines, and accepts image/video, as well as procedural texture input.

The shader is contained within a single node group with exposed property sliders, and can easily be further reconfigured and customized.

By default, the shader is set to emit light, which makes it a "real" light emitter when used in Cycles.
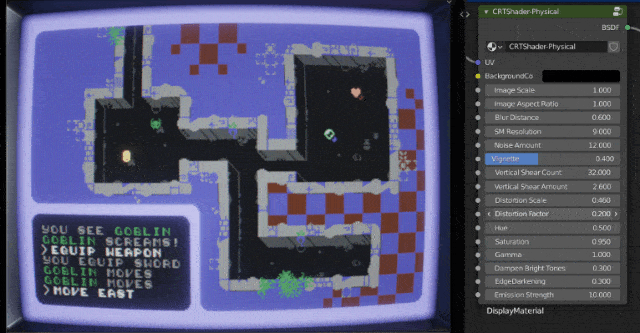
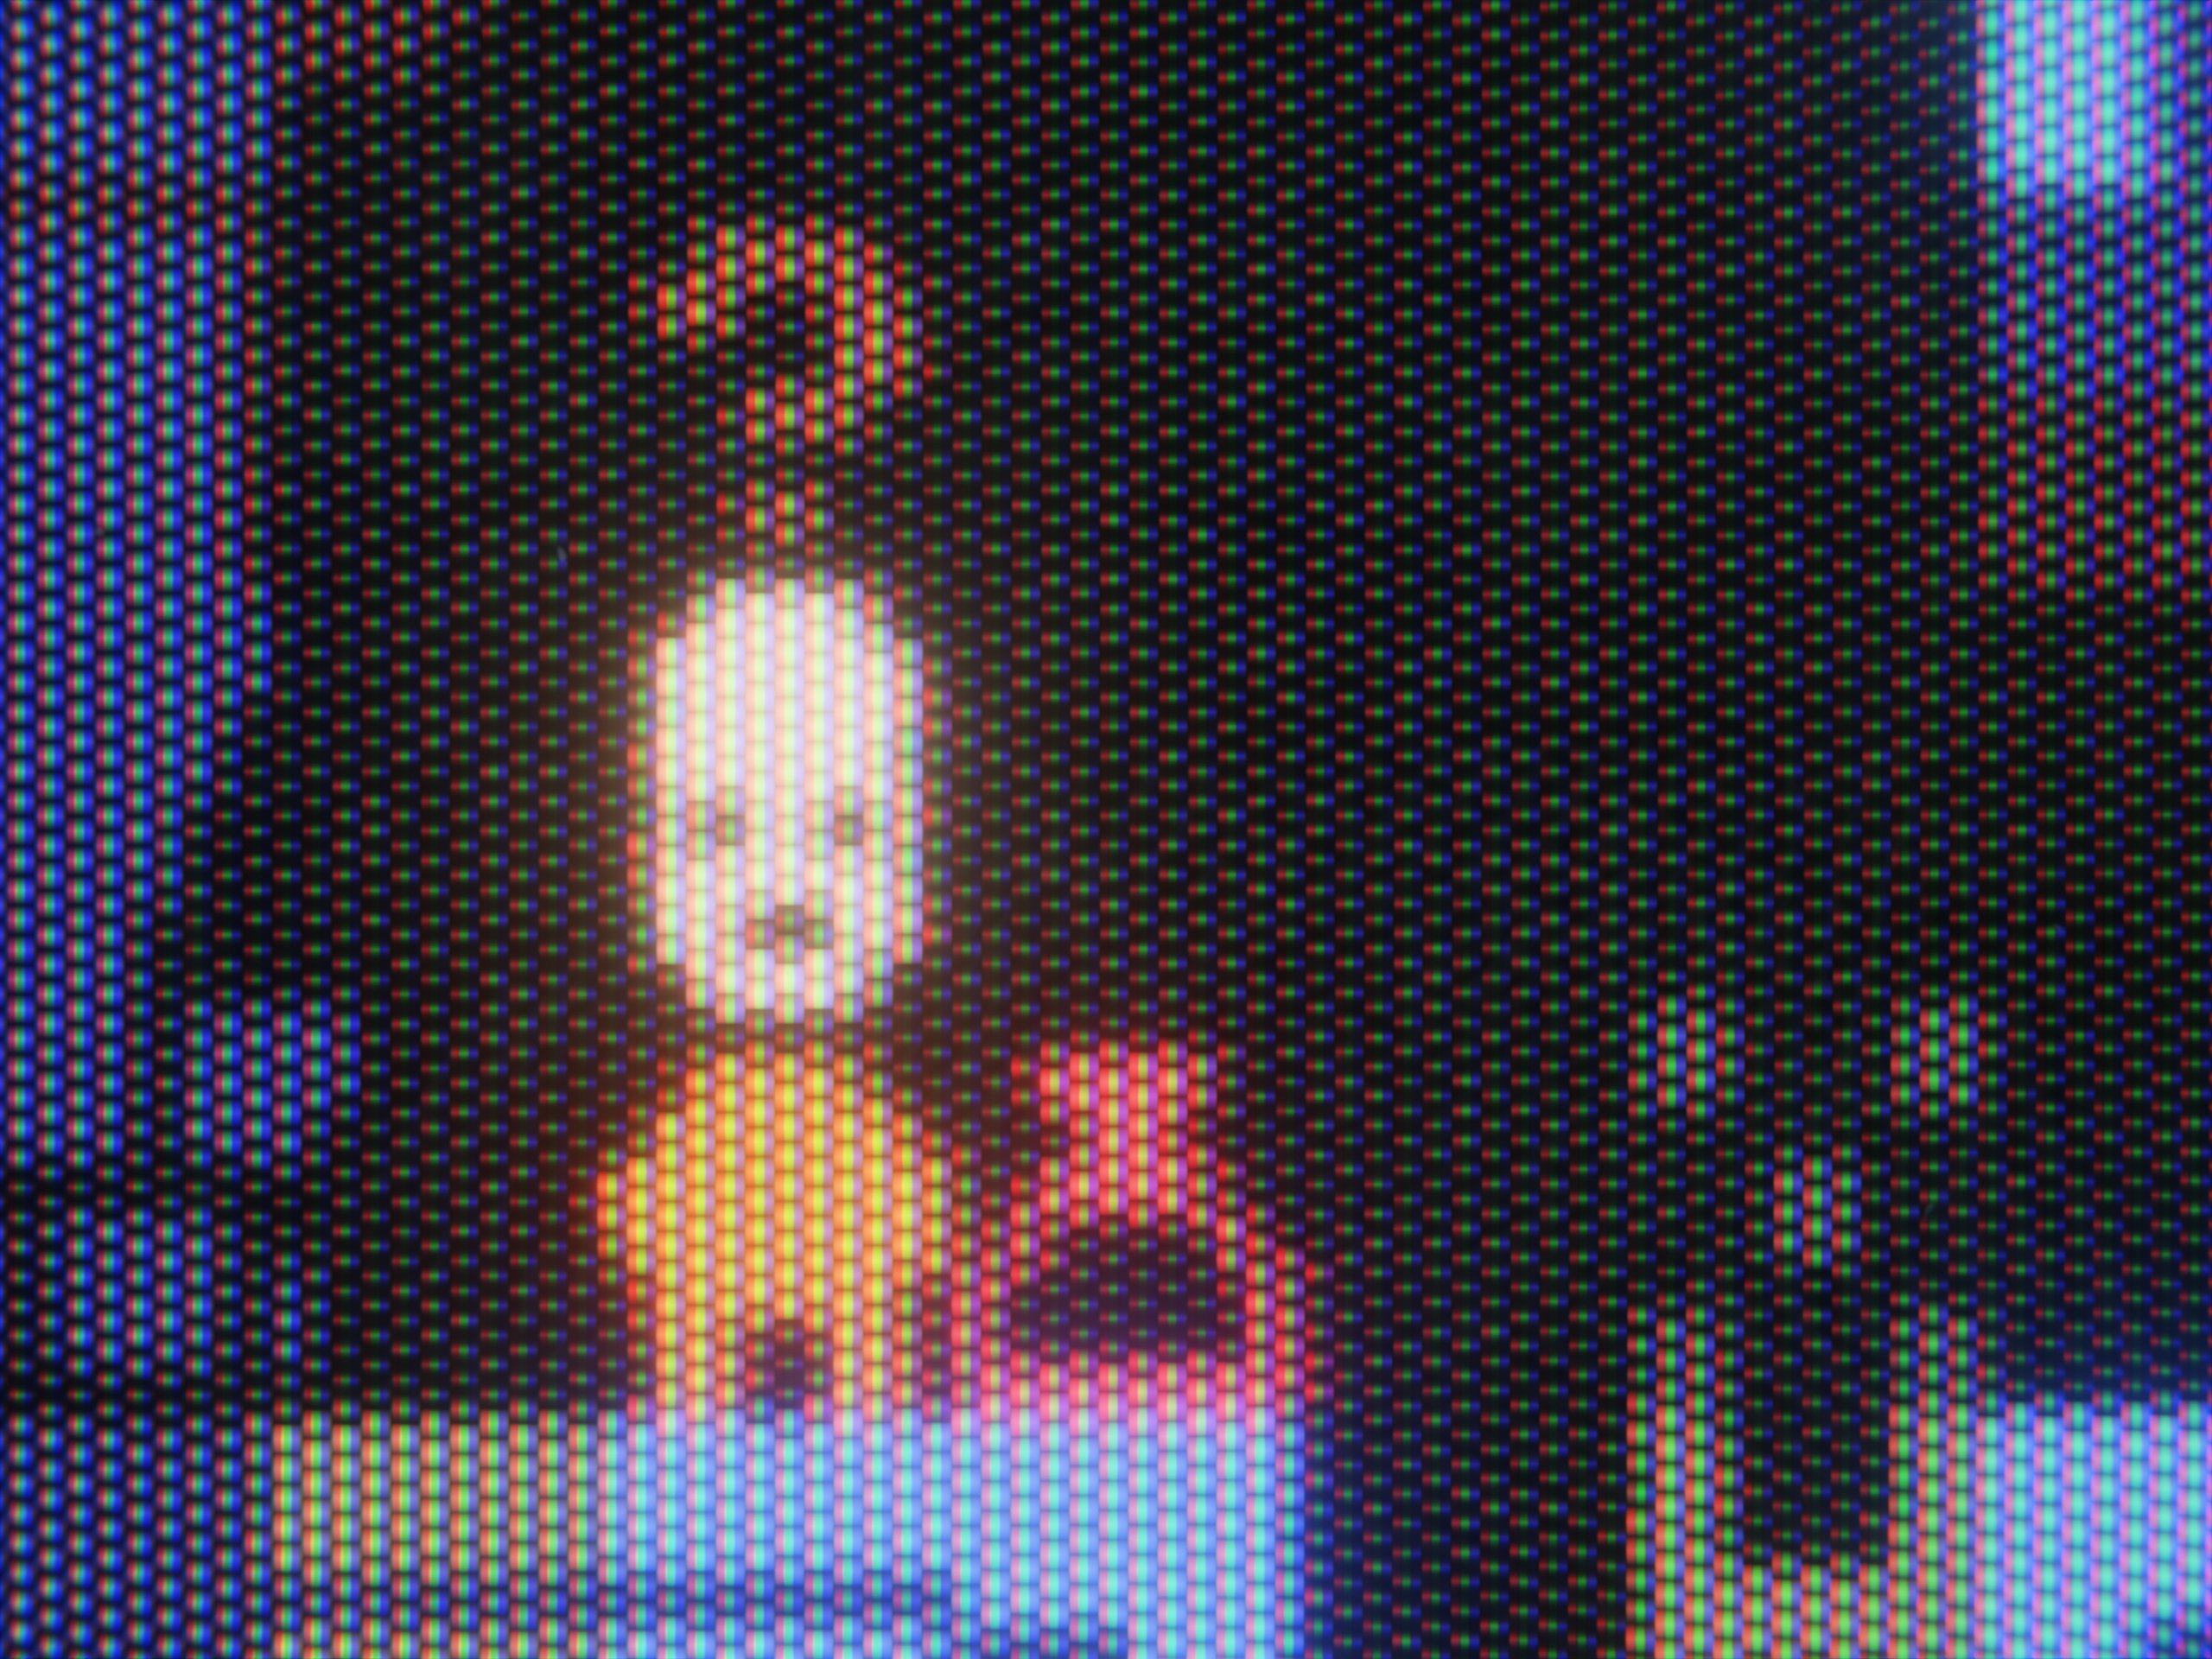
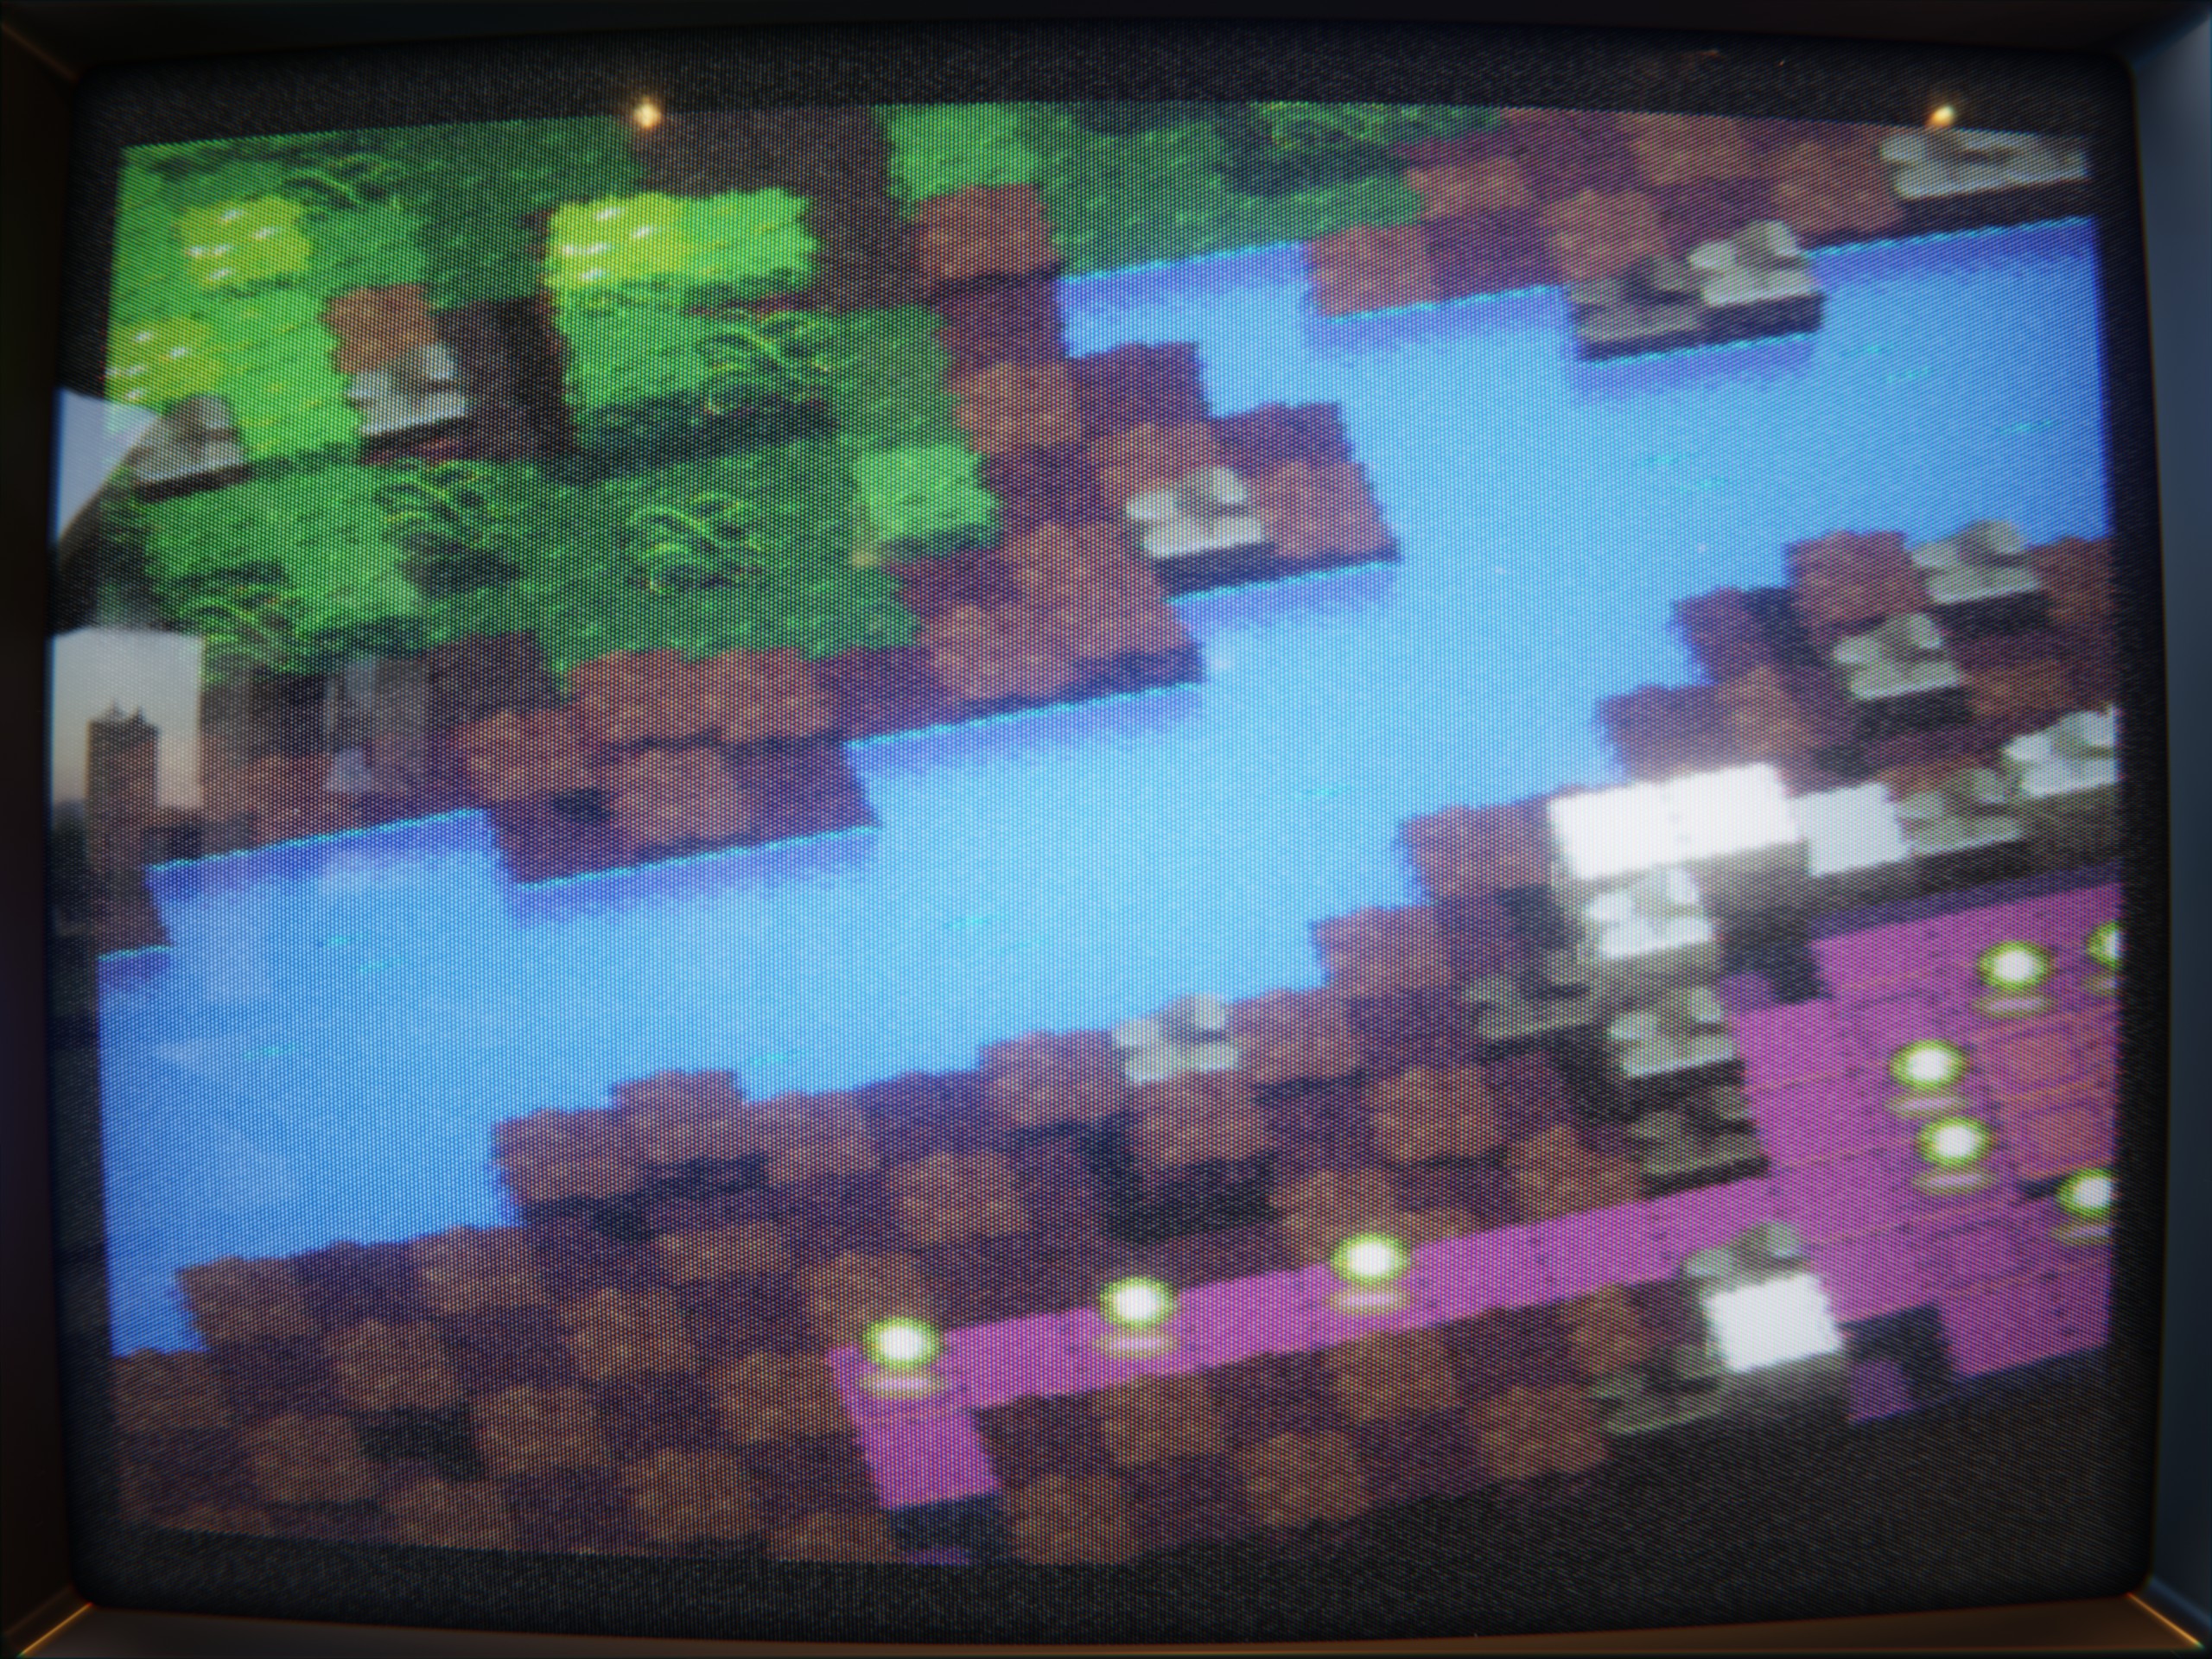
Various properties are exposed in the main shader node, allowing for easy configuration of the basic parameters, such as scale, aspect ratio, distortion, hue, saturation and other image and CRT parameters.
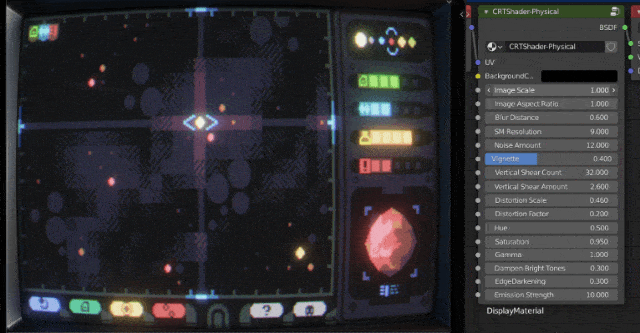
The MRMO-CRT "Basic" pack includes the CRT shader in a basic .blend scene, with customizable screen barrel distortion via modifiers.
The MRMO-CRT "Lite" pack includes the CRT shader in a basic .blend scene, with customizable screen barrel distortion via modifiers. This version of the shader includes only basic image processing, but should run significantly faster and should be much less taxing on the hardware.
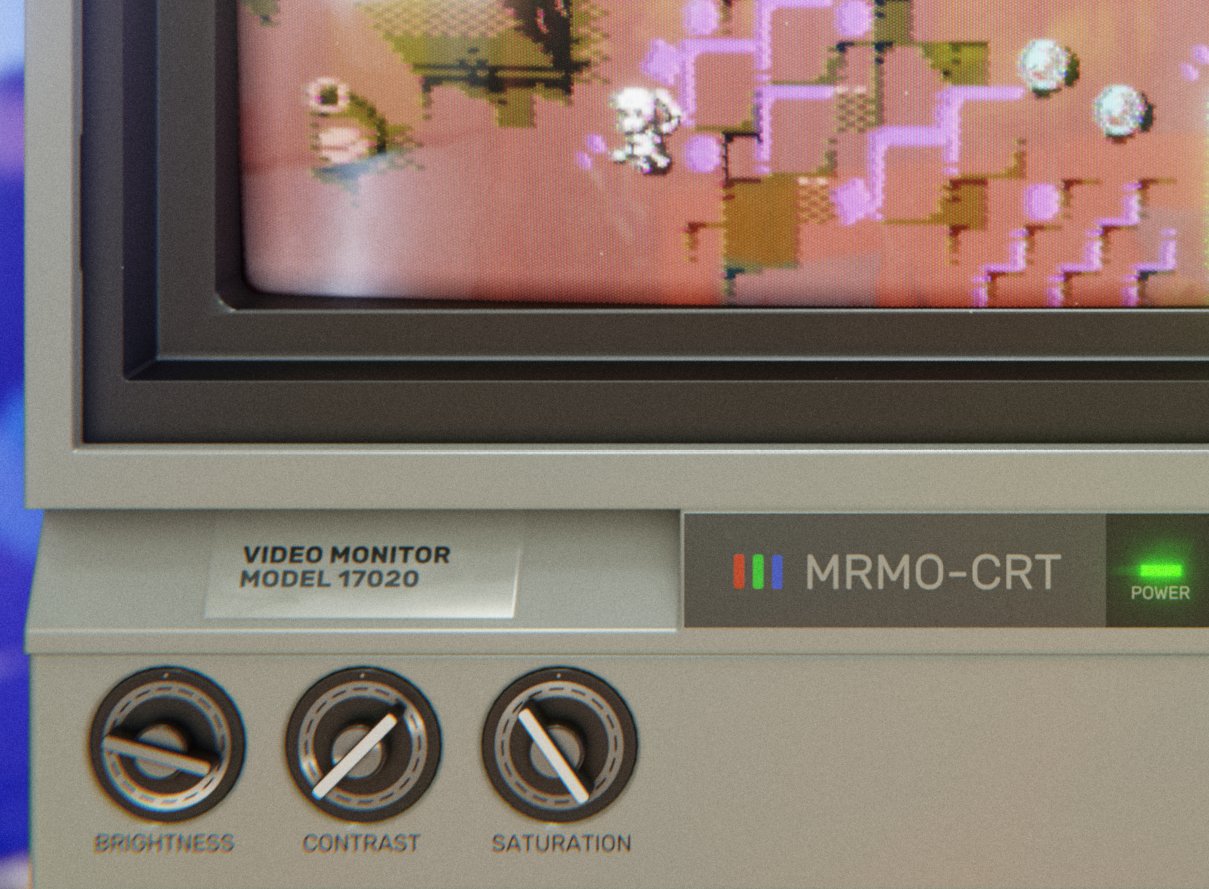
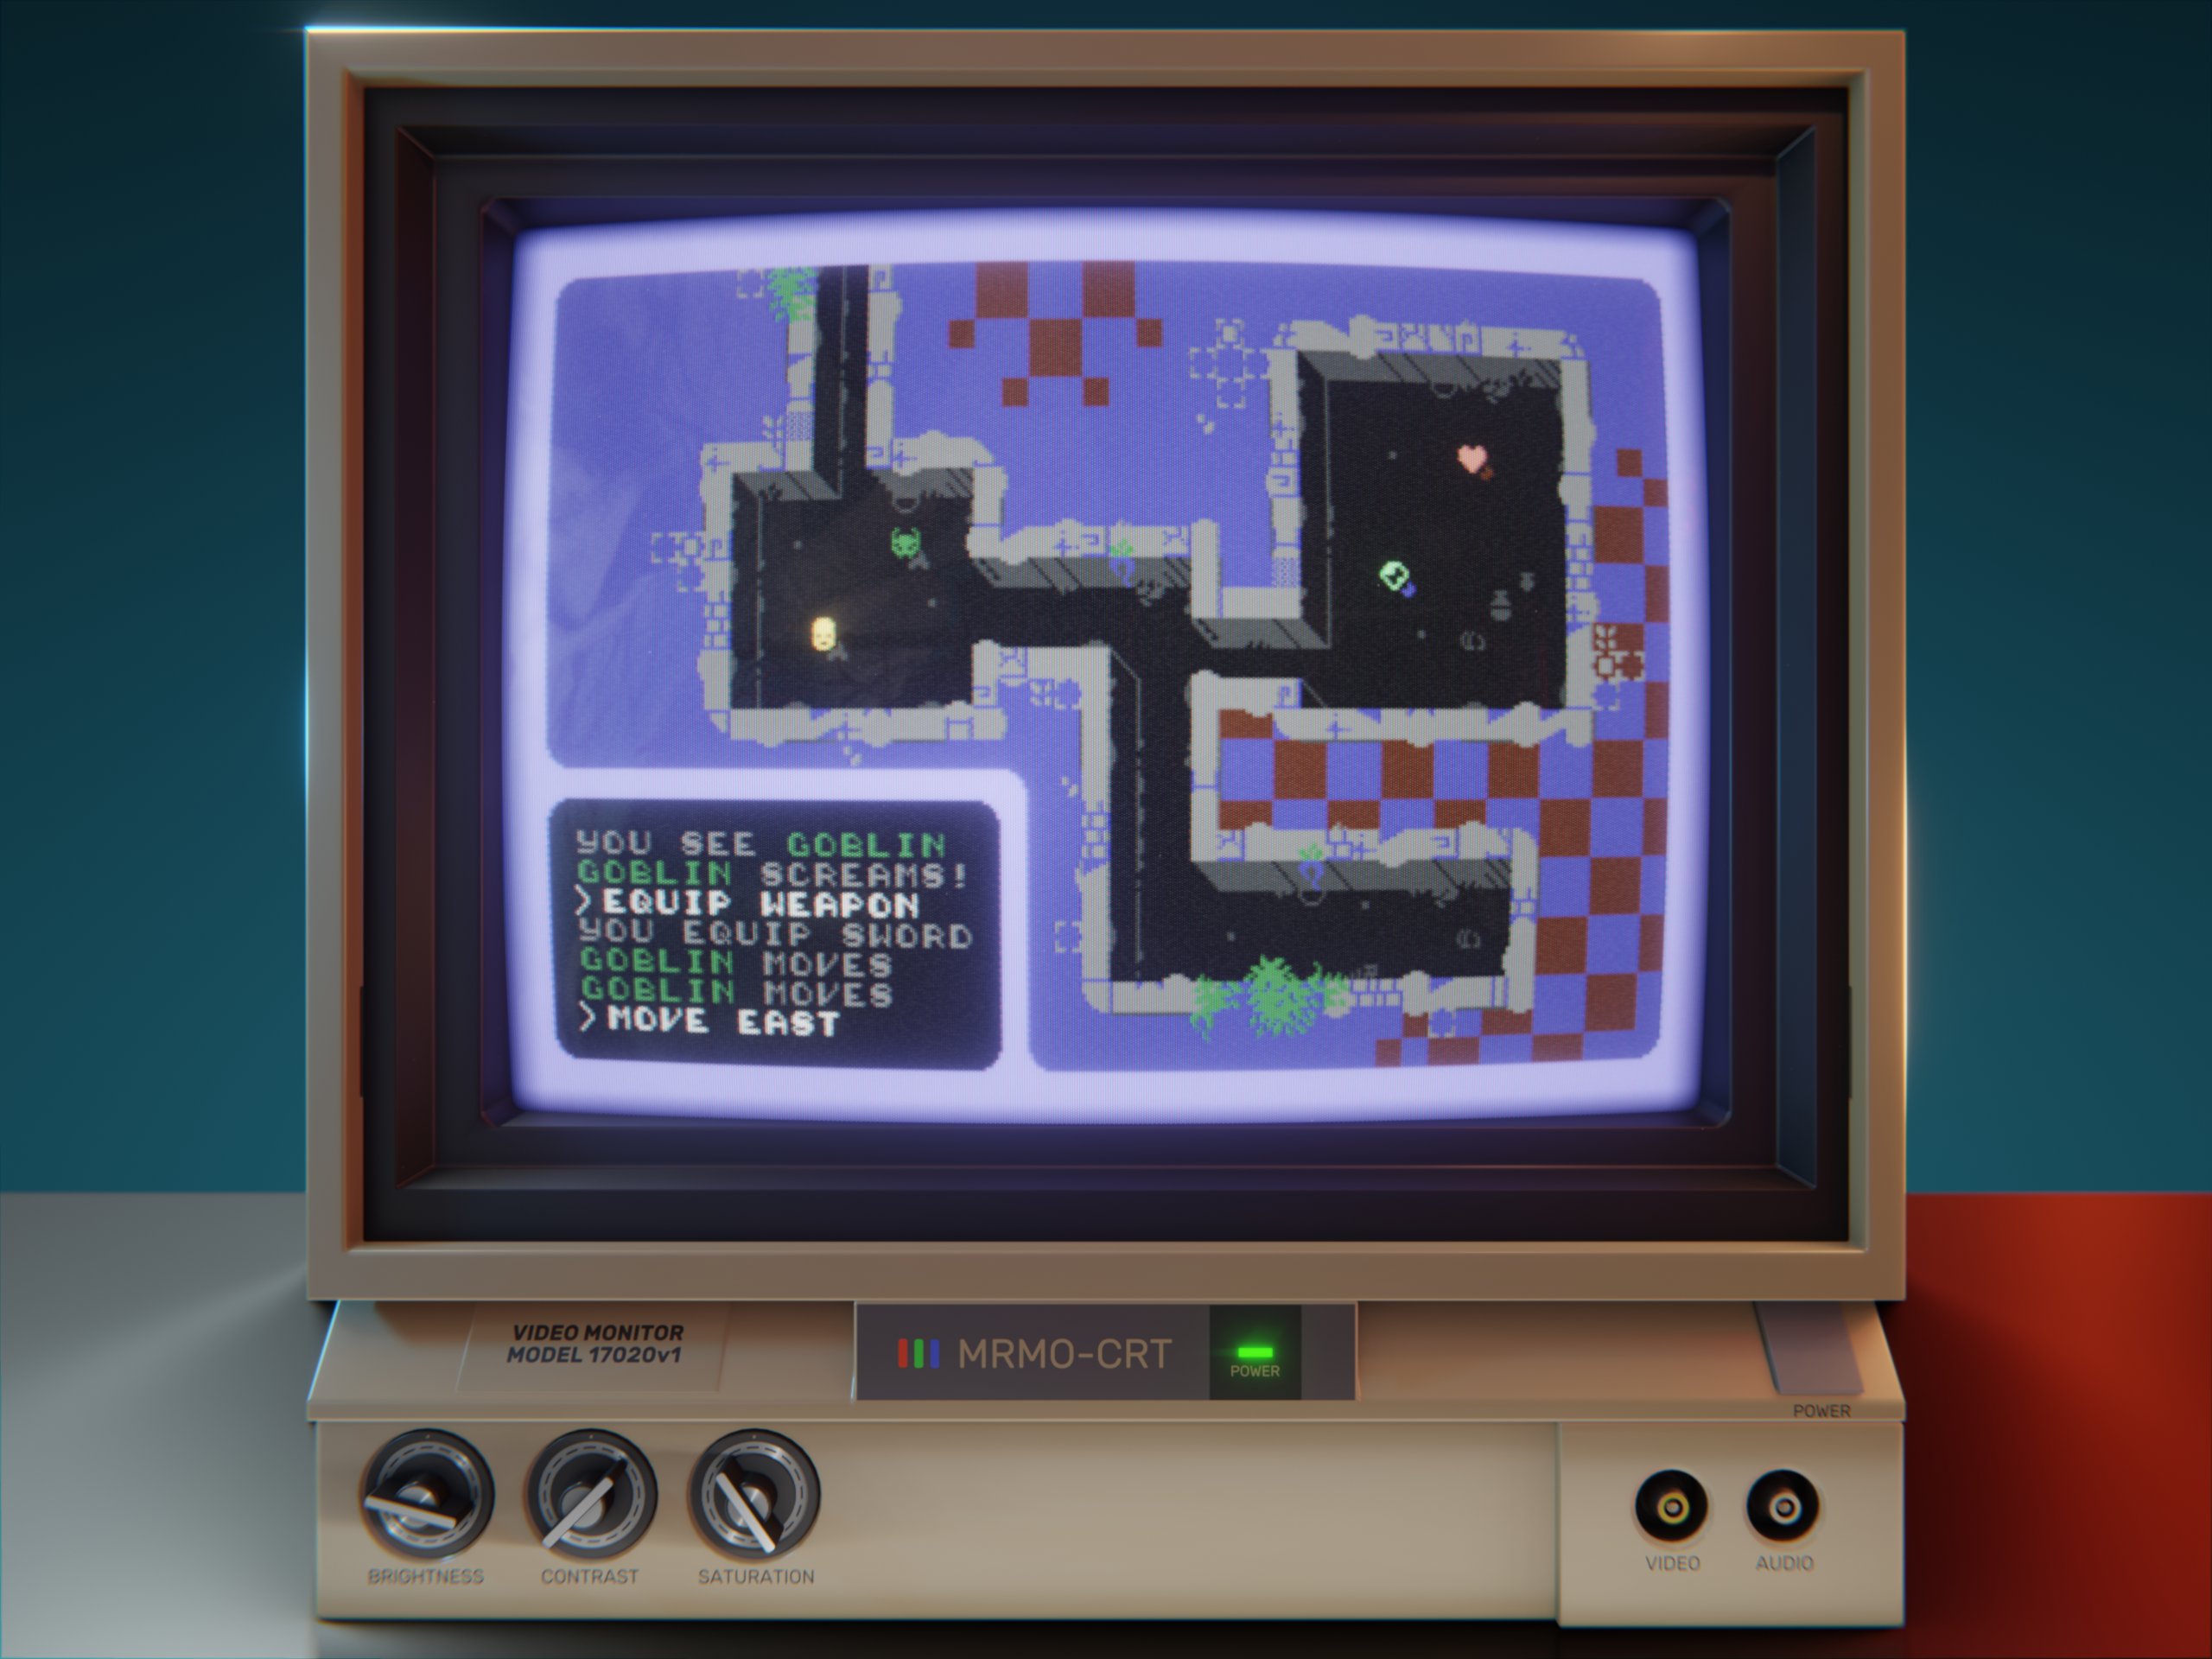
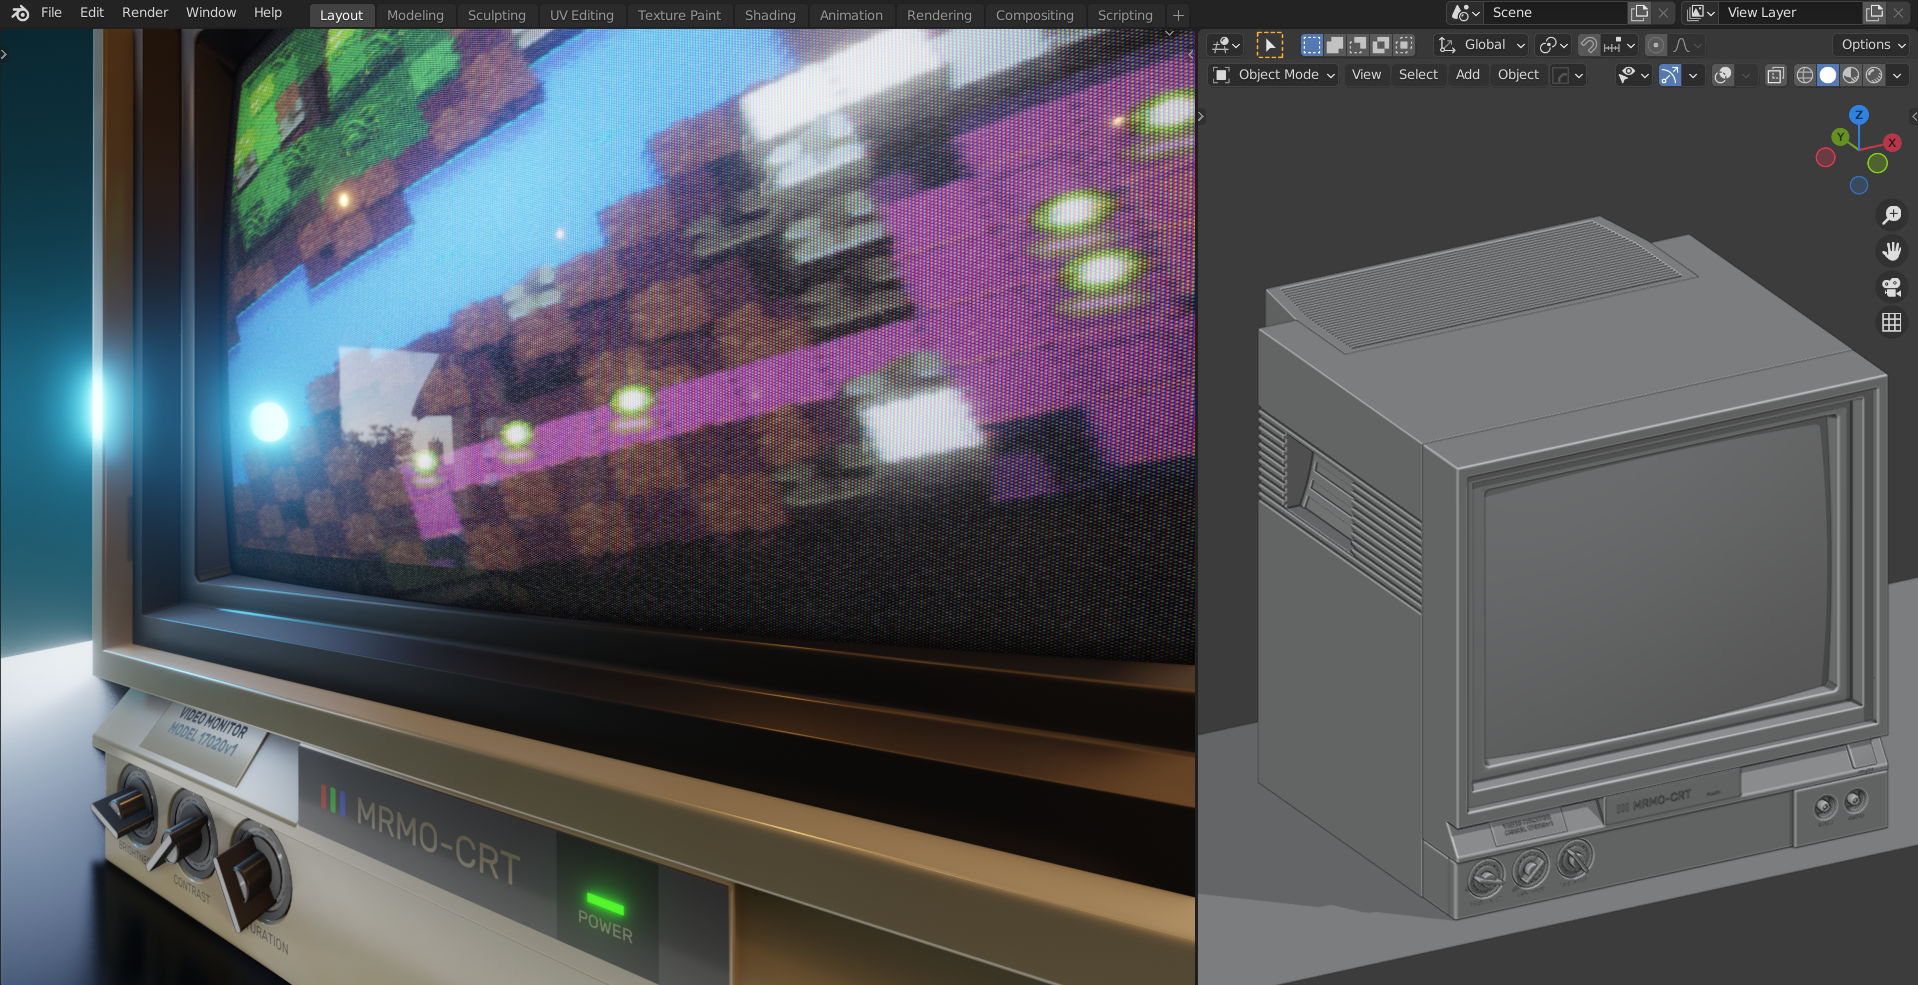
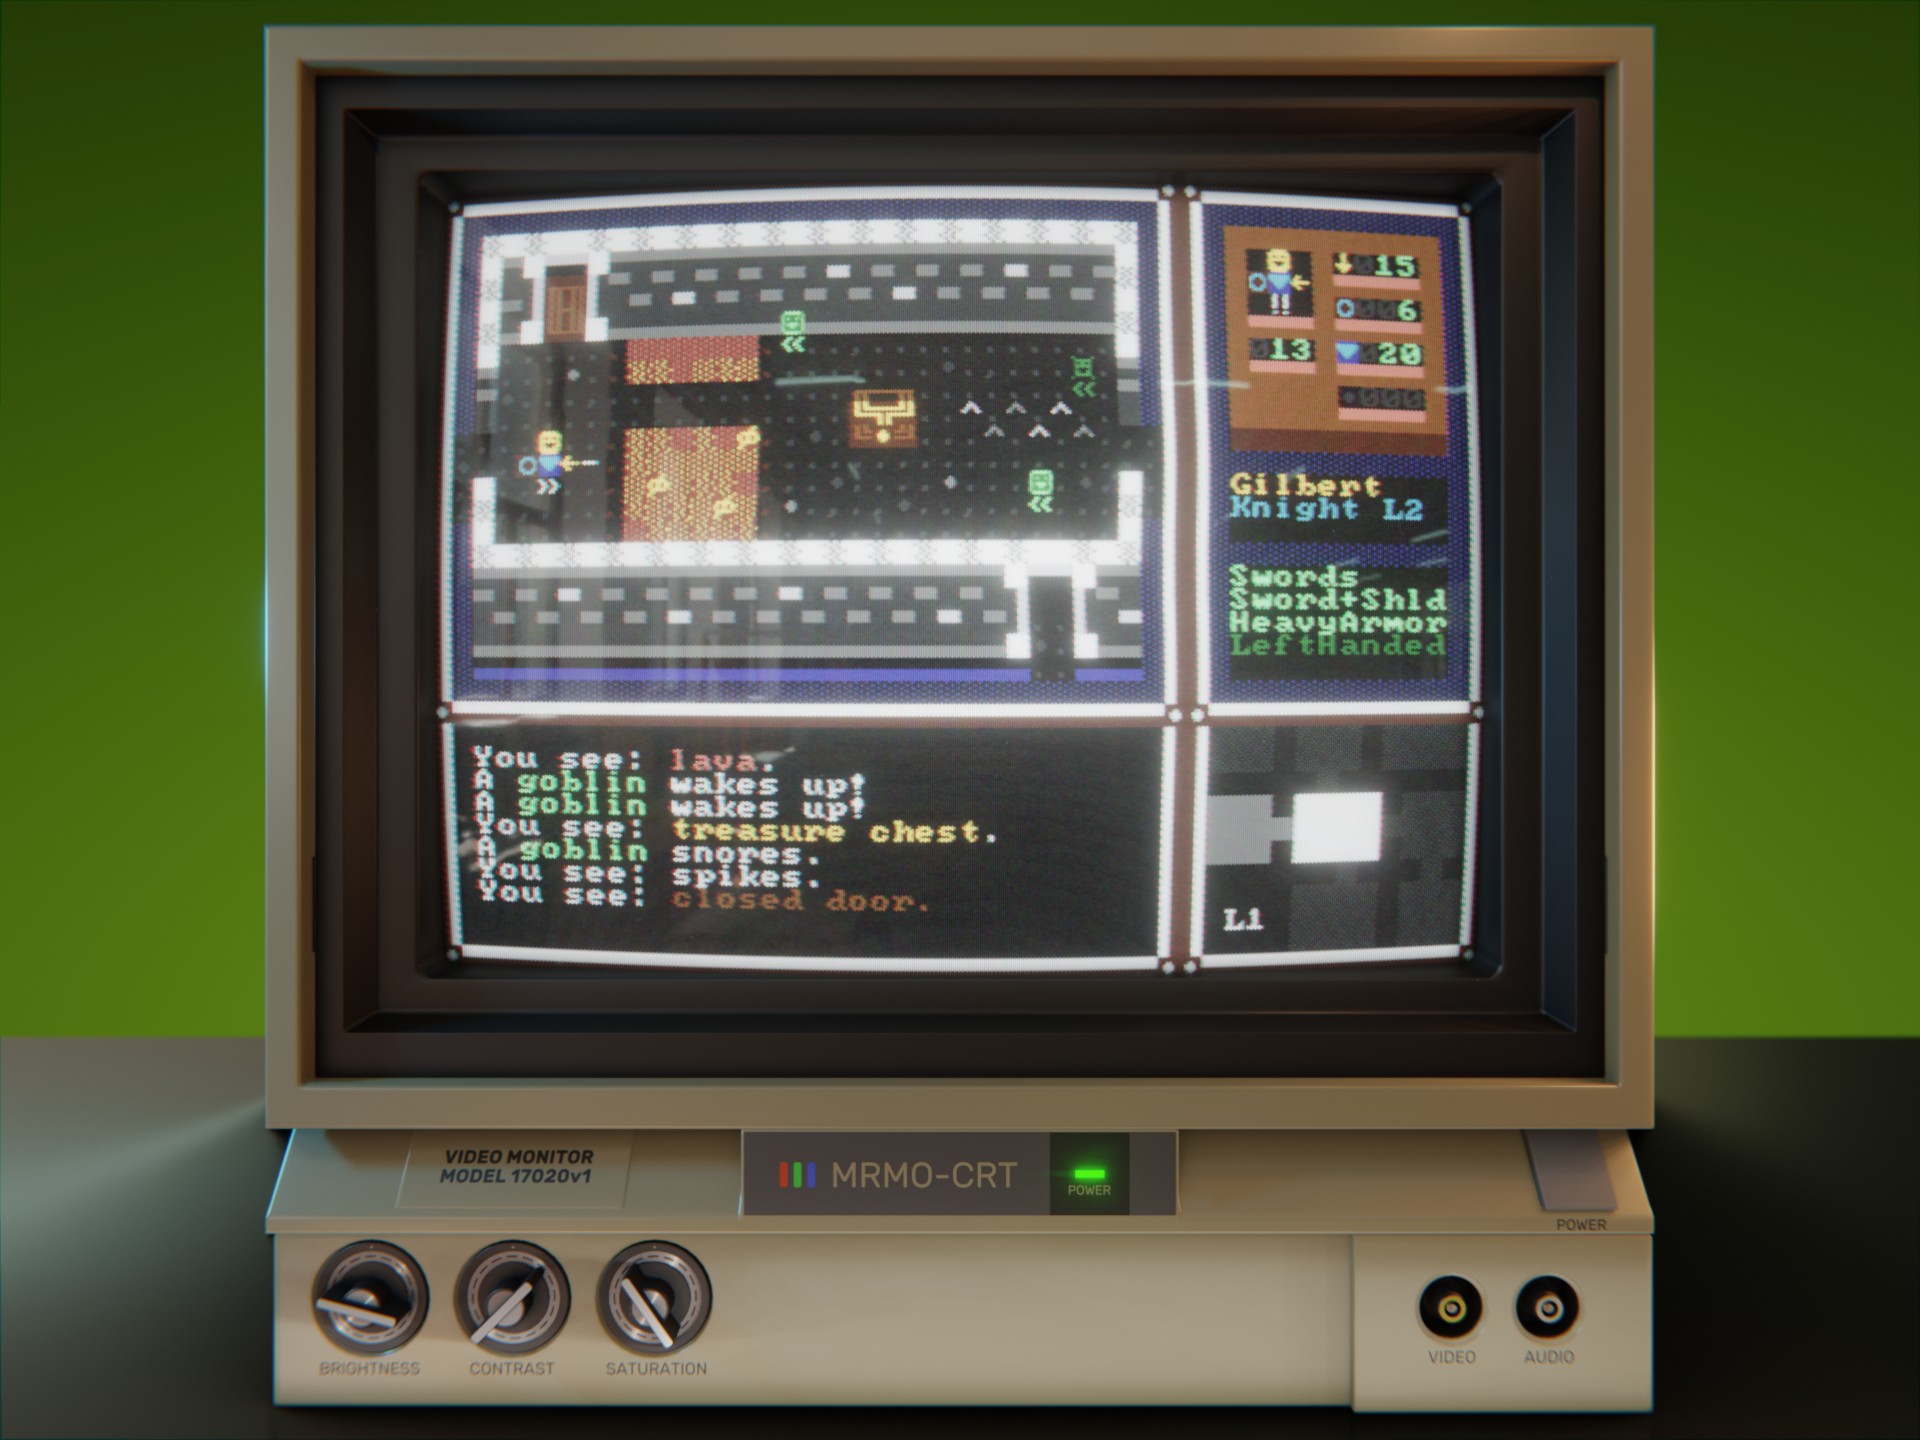
The MRMO-CRT "Deluxe" pack includes everything from the Basic pack, plus a render-ready .blend scene with a CRT monitor model, customizable HDRI lighting and the CRT shader integrated in the monitor's screen, complete with reflections, customizable dust and fingerprint smudges. It includes three "preset" cameras- "full scene", "screen" and "detail". The text on the monitor model labels is editable.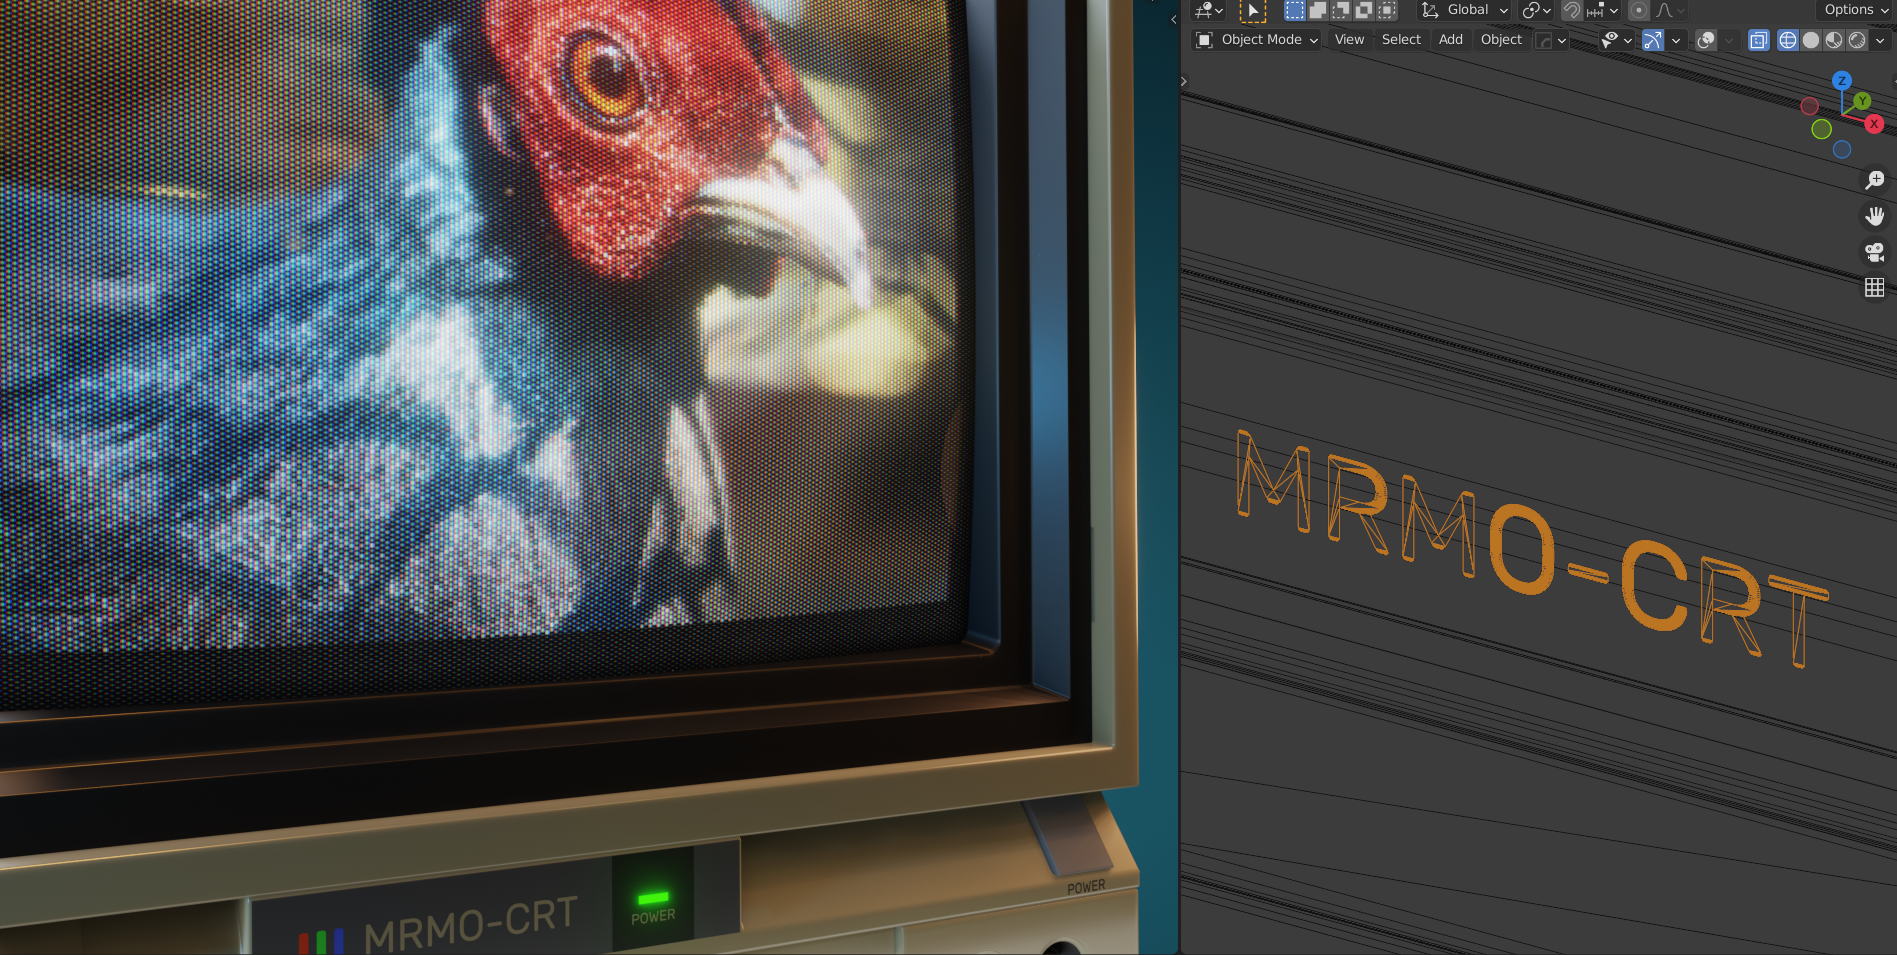
MRMO-CRT was tested on Blender versions up to 3.0.
*Update V1.01:
-Added "Lite" version which includes only basic postprocessing that should run much faster;
-Updated the default rendering parameters to be less taxing on hardware (lower default resolution and sample rate)
-Updated the noise to conform to the shadowmask, now uses White Noise.

*Update: TriCRTops, a professional-grade CRT progressive scan emulation process added (at "Deluxe" version tier).
This is a new implementation of the CRT emulation process that aims to accurately reproduce the "look" of professional-grade CRT monitors using "every-other-line" progressive scan. It comes with its own set of customizations and an exclusive red-trimmed CRT monitor model.
It is currently working in Eevee only.


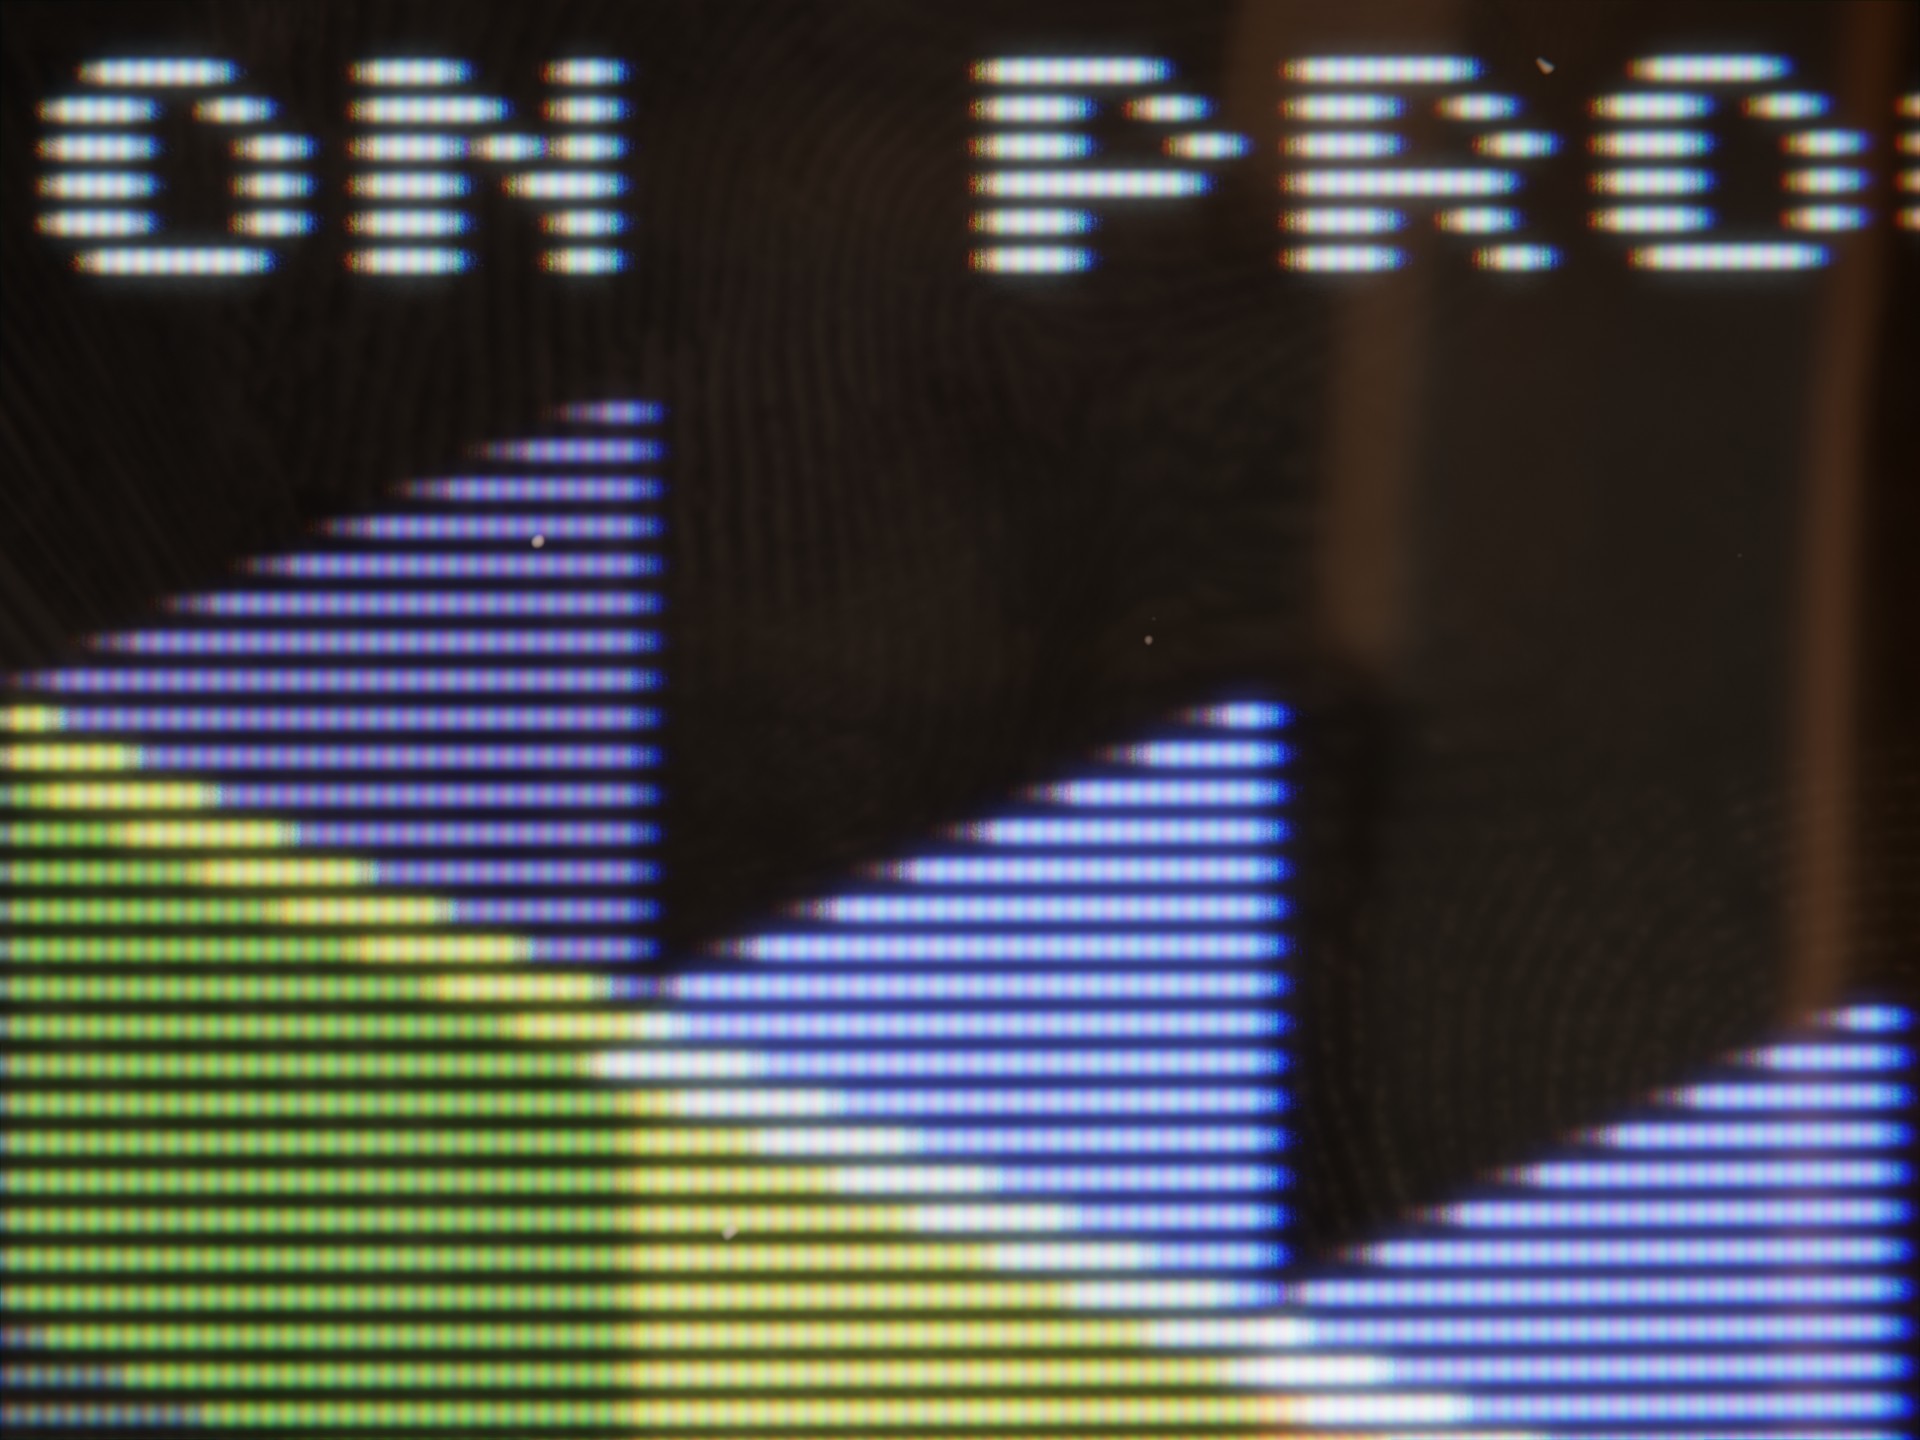
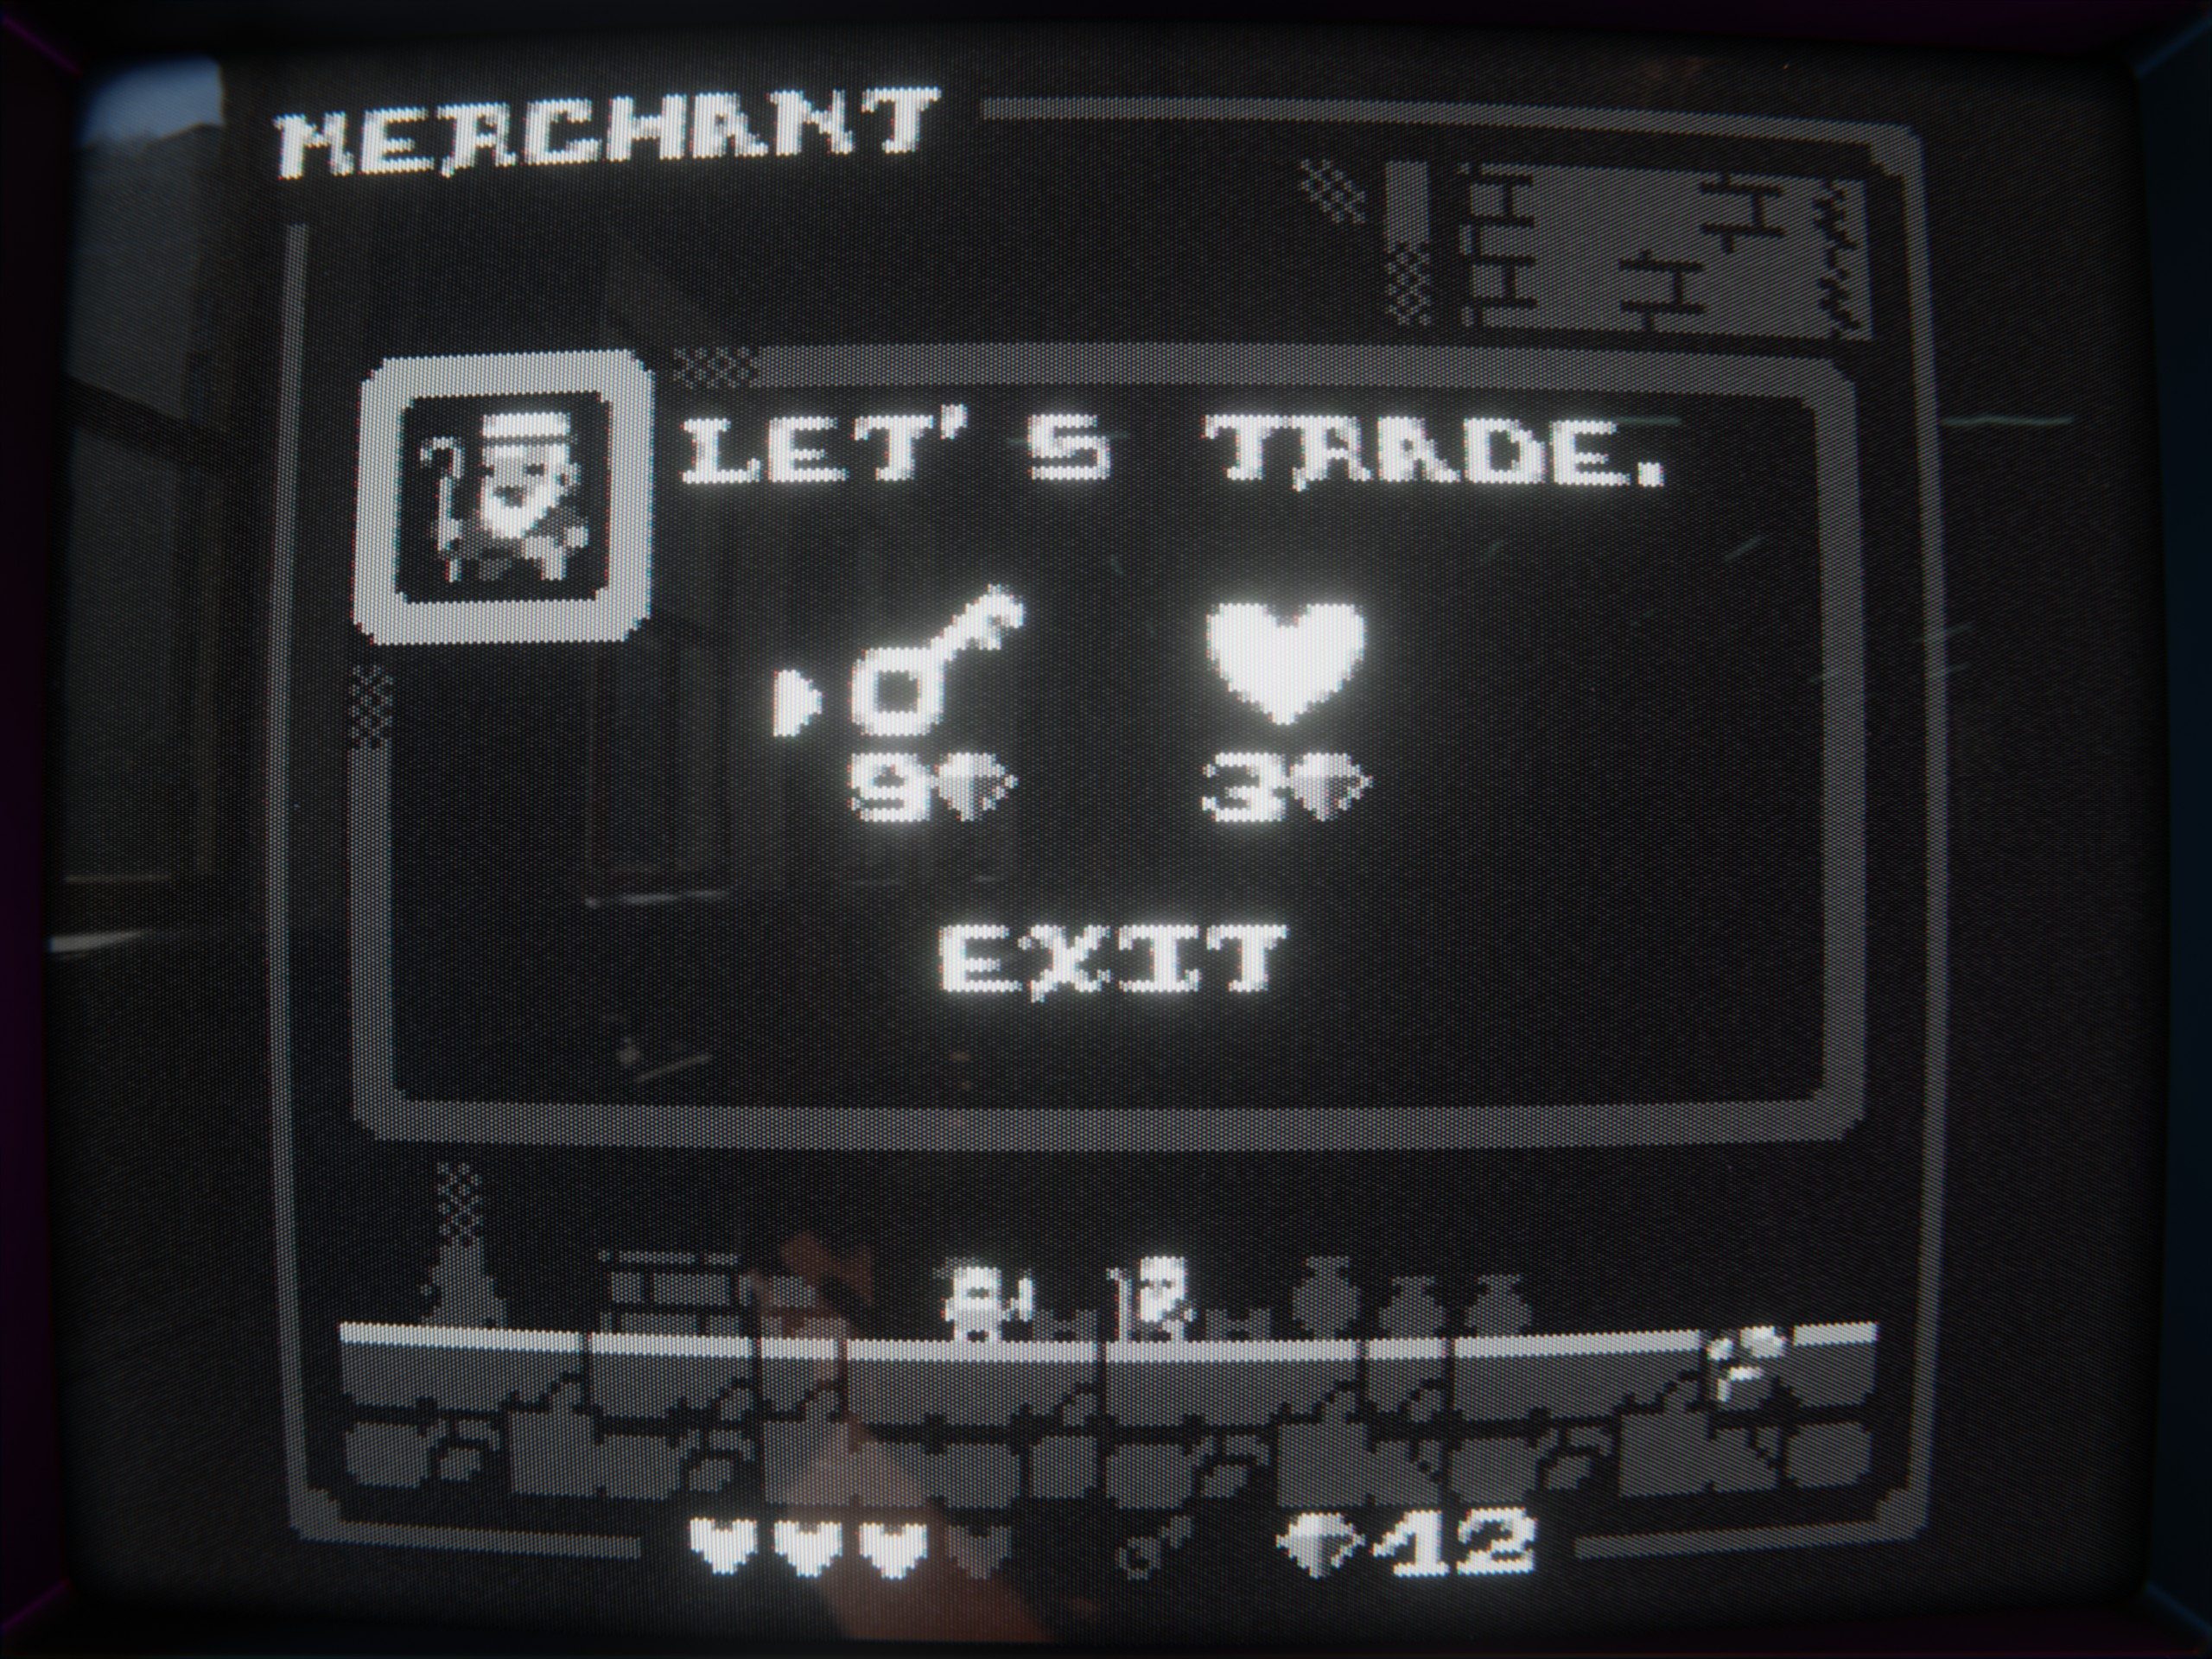
Image made using FROGBLOCK font by @Polyducks
*Update: MRMO-CRT-GEO (and "Lite" version), an experimental Geometry nodes-based CRT progressive scan emulation process added.
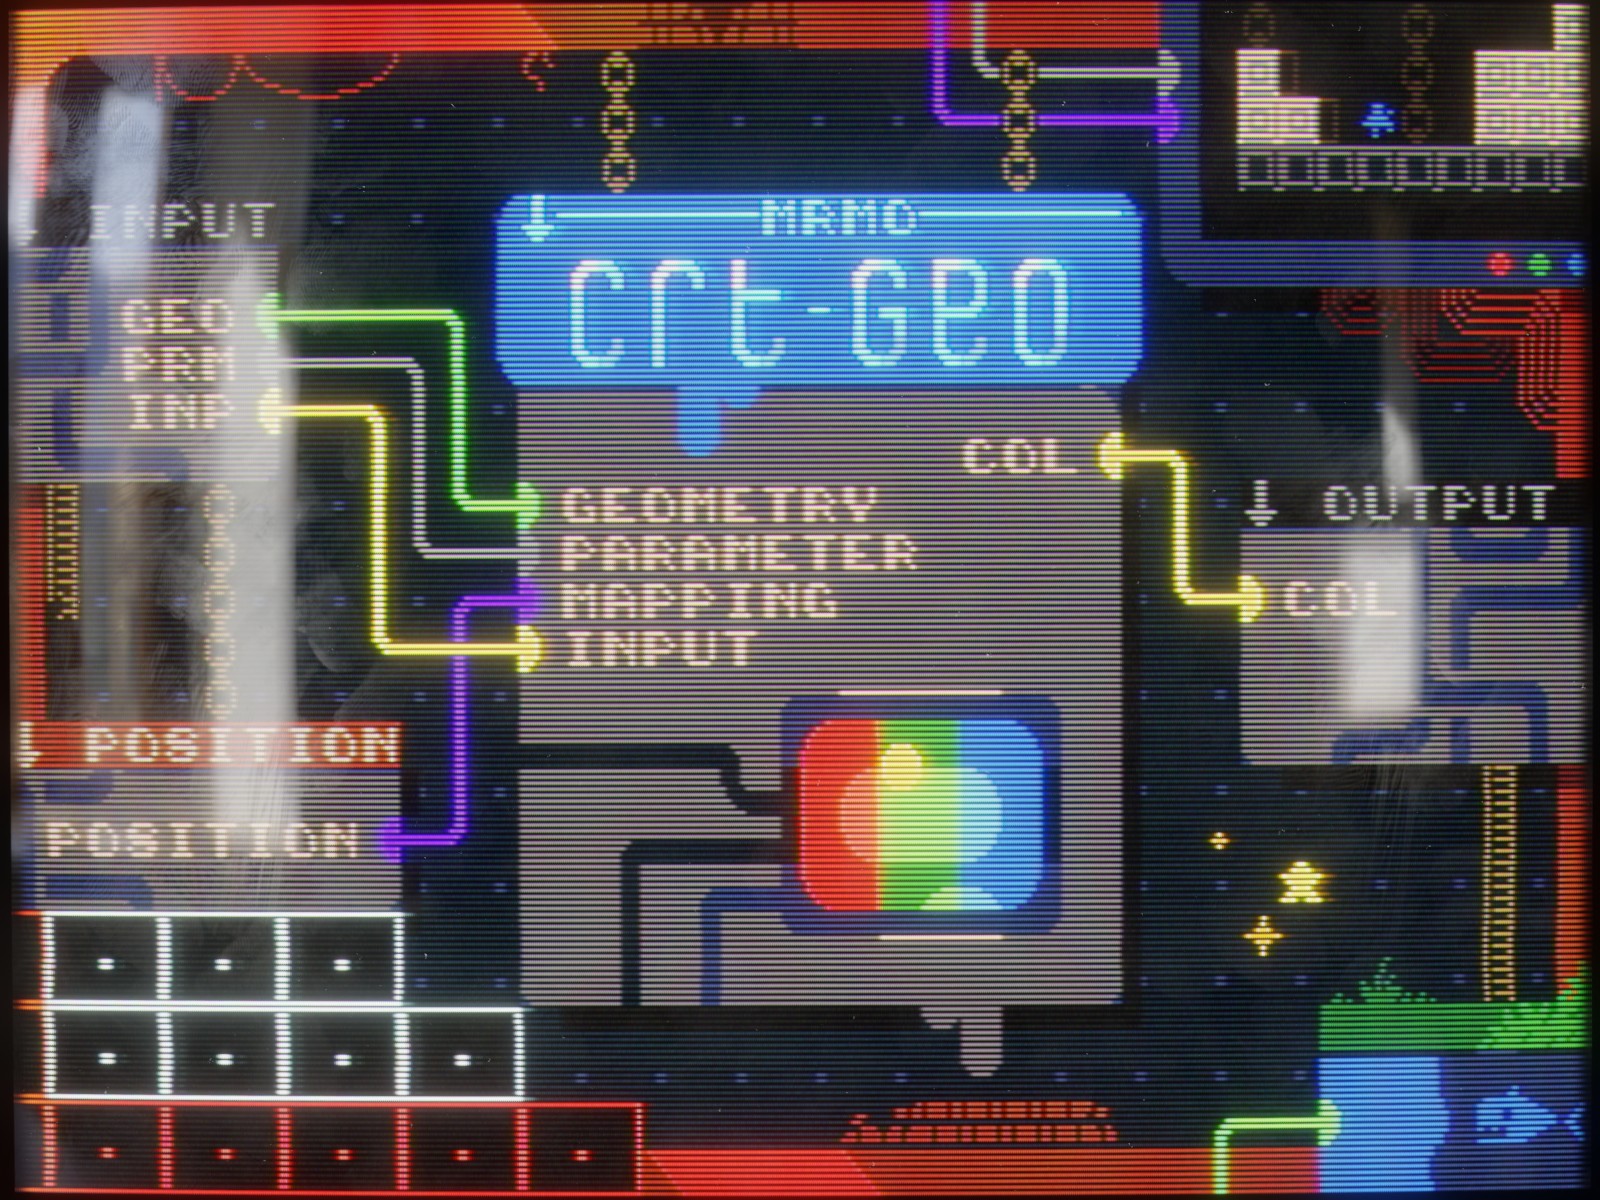
This is a new CRT emulation setup, built from scratch and utilising Blender's geometry nodes for storing and manipulation of the input image/video. It is an experimental setup that might yield very interesting and "authentic" results.
The "Lite" version lacks several effects (like scanline-brightness distortion, "shift-ghosting" and "physical" shading, reflection, dust and smudges), but is otherwise fully functional (and free!).
*Update* MRMO-CRT-GEO has been updated with an experimental new version that supports motion blur (with looping) and stretching the input animation frames to the specified output frame number (allowing rendering several "actual" frames per input animation frame).
Licensing:
"Basic" (and "Lite") version and MRMO-CRT-GEO Lite license: MRMO-CRT "Basic" (and "Lite") version as well as MRMO-CRT-GEO Lite can be used in non-commercial projects. You can modify them to suit your needs. You may not redistribute, or resell them, even if modified. Credit is not necessary, but very much appreciated.
"Deluxe"/TriCRTops/MRMO-CRT-GEO version license: MRMO-CRT "Deluxe" version and TriCRTops can be used in both non-commercial and commercial projects. You can modify them to suit your needs. You may not redistribute, or resell them, even if modified. Credit is not necessary, but very much appreciated.
I'd love to see what you create using MRMO-CRT! I'm on Bluesky so feel free to show me your work there!
Download
Click download now to get access to the following files:
Development log
- *Update* experimental MRMO-CRT-GEO with motion blur and frame stretching added!Jul 02, 2024
- *Update: MRMO-CRT-GEO (and "Lite" version), an experimental Geometry nodes-based...Sep 29, 2023
- Color tinting update!Dec 08, 2021
- TriCRTops is now out!Dec 07, 2021
- Basic usage tutorial and tips!Jul 13, 2021
- Update V1.01, new rendering defaults, "Lite" version!Jul 13, 2021


Comments
Log in with itch.io to leave a comment.
Hi, love your work! I bought the Deluxe version, just wondering, you see the HDRI reflection in the screen you think I could have it reflect another video somehow? Thanks!
Hello and thanks a bunch for buying my stuff! :D
I guess if you carefully position a plane with an animated texture somewhere, it should get reflected? The HDRI is a world shader texture, I hadn't tried it but this could also be an animated texture :D
Just bought a deluxe version - such an awesome tool, thank you! Question: Is that possible to edit the SM texture? 3-color pixel. Let's say I want to use one of these layouts:
Hello and thank you very much for supporting me!
MRMO-CRT uses a procedurally generated shadowmask, in the aptly named "ShadowMask", node group (a subgroup within the "Composite Shadowmask") group. You could circumvent the procedural mask, and plug in your own texture, something like this:
I'm continually blown away by your work!
I have a question, though: Is there a way to set up Blender to render through this directly rather than exporting a video and adding it to the image input?
Hmm, I'd usually just plug in the video I want rendered into the image input and render out the result as either a png sequence or a video file, it's material shader based so the input video has to go "through" that process somehow :)
I'm not very proficient at Blender, so there is this slight issue trying to use the experimental GEO build when inputting a picture or video where its giving me the error "Unknown socket value. Either the socket was not used or its value was not logged during the last evaluation". It doesn't happen with the other GEO builds. Is there a way to resolve that on my end?
What version of Blender are you using? That's the first thing to come to mind since there have been some compatibility "misalignments" between newer Blender versions as there have been many new things added, especially with geometry nodes :/
The experimental GEO version was made with 4.11 and it might be what breaks compatibility with earlier versions.
I'm using 4.0.2. I'll definitely try using the latest version and see if that helps!
Thank you very much :D
Is there a version of this for Blender 2.79?
I just tried appending the shader into 2.79 and the incompatibilities are so significant Blender basically immediately crashes, so... unfortunately not :(
Unfortunate but thank you!
Is it possible to have multiple screens in a scene? I've tried making a duplicate material, but there doesn't seem to be a way to duplicate the image node in order to have a second input image?
Yes! Your method results in a duplicate material that still uses the original node sub-groups. You could go through every group and make them unique, but it's not really feasible, so:
The quickest way I can think of is just appending the display and material from the MRMO-CRT .blend project into a new project, as many times as you need; this would create "proper" copies of the material (with its name ending in .001, .002 etc) with the subgroups properly copied.
you could use laptop's camera to emulate reflections on screen
respectfully, clean your screen!!!
Hello Mrmo, thanks for all your hard work and for sharing these tools with the community. I was wondering, is it possible to render a sprite with a transparent background?
Hey! I think that with some modification it would be possible to either render black as transparent or use the input image alpha, but due to the way the entire process is set up (including the use of camera lens blur) I guess the results wouldn't exactly be clean, and would require lots of internal rewiring to get it running properly. Maybe just mixing the shader result with a transparent shader using the input image alpha would be enough? I just never thought about including transparency into my CRT emulation processes since it usually involves rendering an entire display at once :D
Is there a possibility to use this shader for my game done with gamemaker? This render effect is so good!
It's entirely Blender-based, so it's not possible to use it directly in other engines; however, feel free to take a look at the nodes if you'd like to take a shot at reconstructing it in a shader format that Game Maker uses :D
oof… that is beyond my limit with shader since i only know the most very basic shader i was able to create: silhouettes behind a wall done with a texture… XD;
Any word on when TriCRTops might be available for Cycles?
Hey! I think I managed to get it to display properly in Cycles, I'll try and update it soon!
I FOUND THE SOLUTION! Went back to the material today to mess around and see what the issue was. I noticed a bunch of random regular nodes like noise wouldn't even show up properly in Cycles, and I eventually traced it back to the first UV Map node. All you need to do is uncheck the "from instancer" option in the UV map node at the very beginning and the material will work fine. For anyone else who came here looking for the issue that's the solution if it hasn't been fixed by the time you see this.
Hi! I'm completely new on using Blender.
For the 'Basic' version, instead of pixelart image, does it support an animated pixelart?
As far as I'm using Blender (although I'm completely new), Blender doesn't support .gif formats (CMIIW). Because of that I had to convert the animated pixelart form .gif into .mp4/.avi format. I replaced the template input file into the video format I just converted. I tried changing the file format on the render output into video file. I also tried messing around with the frame number. Then I render it as an animation. However, only the first frame that was rendered.
Is there anything that I missed in the settings/rendering process?? Or is there a special case for animated gif/video files?
Thank you.
Hey! Yeah, Blender refuses to acknowledge gif format exists :D
Here's the steps for rendering an animation:
-Provide either frame-based or video input;
-Check the "cyclic" and "auto refresh" options;
-Edit the "end time" value in the timeline to match the number of frames of your input;
-Modify the render output settings as needed (set output path, format, resolution etc)
-Render -> Render animation (default shortcut Ctrl + F12)
Hope this helps!
Thanks! I initially did the same as you wrote here and it didn't work.
Then I realized that I was using an outdated version of Blender. After updating it to the latest one, it finally works flawlessly!
Hi,
I'm a Blender noob, but I can find my way around. I want to purchase but is it possible to use the CRT without the television model/border? What settings do I change for that?
Hello! Have you considered using the free "Basic" version? It includes the shader without the monitor model.
Thanks for the response. I will download and check that out!
hey there it is a rar file ? I mean... addon? or just open the basic "blend" file one time before I need to render? I mean... I need the blend file to all my purpose or addon installation? thx.
If I pay you 10 ? I receibe a rar file? or simple installation ? thx
Hey! This is not an add-on, rather, it's a .blend scene with everything already set-up and just needing a texture (image) input plugged into the shader and setting up the resolution before rendering the result.
Yes I downloaded the free vertion, I think the most basic one... do you planning to create an addon of this? it is very useful , I can get the same result with some tricks on photoshop and external app. thx.
Hi! Really enjoying this.
Does it require the screen plane, or can it be replace with 3d objects?
Hey! I'm glad you like it!
The majority of the effect is achieved using the material shader (the rest is camera blur, bloom etc), so sure, you can apply it to any UV mapped object and it should work!
this is pretty fun, I made this with it:
https://www.instagram.com/p/CXgGgmOqljW/
and probably use it more later, thank you :)
Hi!I got a question: what should I do if I wan to use this tool in Unity2021?
Hey! MRMO-CRT is Blender-based, and is as such best suited for rendering various showcases or adding CRT "flair" to existing assets/images, as well as being used in Blender 3d scenes as a material shader.
Also, feel free to pick the shader apart and reconstruct it in Unity or other developer platforms/engines if you want!
Great tool - I've got some simple experience in Blender and it's very straight-forward to use. I enjoyed all the different settings to get the image to display as I need it.
Thank you!
I'm currently attempting to make a tutorial of sorts for people who've had no experience with Blender, but are interested in trying this out- a couple of things like changing the image texture, customizing render settings and actually rendering the scene :)
Wow. This is fantastic! How did you learn about shaders?
Hey thanks! I got introduced to node graphs with Tilemancer, where I learned the basics of how a node graph works- from there, it was relatively easy to move on to Blender's node-based shader and compositor editors :)
Thanks for the pointer. I'll check it out!