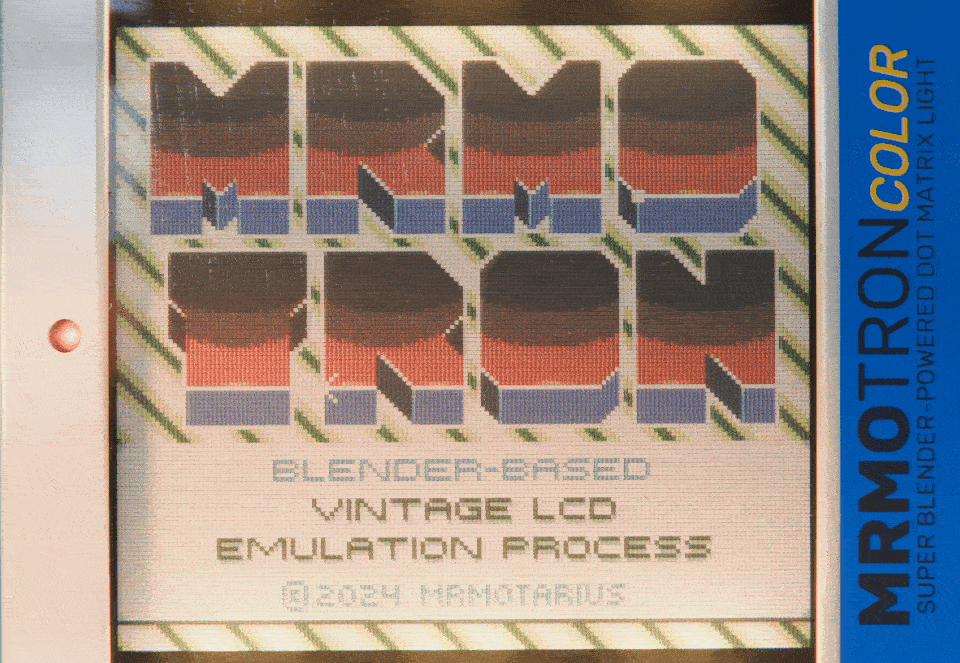
MRMOTRON
Instructions for using MRMOTRON!
I tried making this process as easy to use as possible, so people not familiar with Blender can easily give it a try. These instructions apply to both the Basic and Deluxe versions.
Regarding the system requirements, I've tested on a variety of hardware configurations, and as long as you're using Blender version 4.0.2 or newer, it should work well even on machines with integrated graphics (the lowest I went was an AMD Ryzen 3 2200G with no dedicated video hardware and 8 GB RAM, it works just fine on that configuration). The .blend project file itself can't be opened using Blender versions lower than 3.6 due to some compatibility changes that version brought.
Note: MRMOTRON is not a plug-in, does not require installation, and will work "out of the box" on a fresh new installation of Blender- it's relying on geometry nodes, material shaders and various "drivers" (values and expressions that "drive" other values within the project) to do its magic.
Once you open the MRMOTRON project file (File->Open in the main menu), you'll most likely be in the "Solid" viewport shading mode.
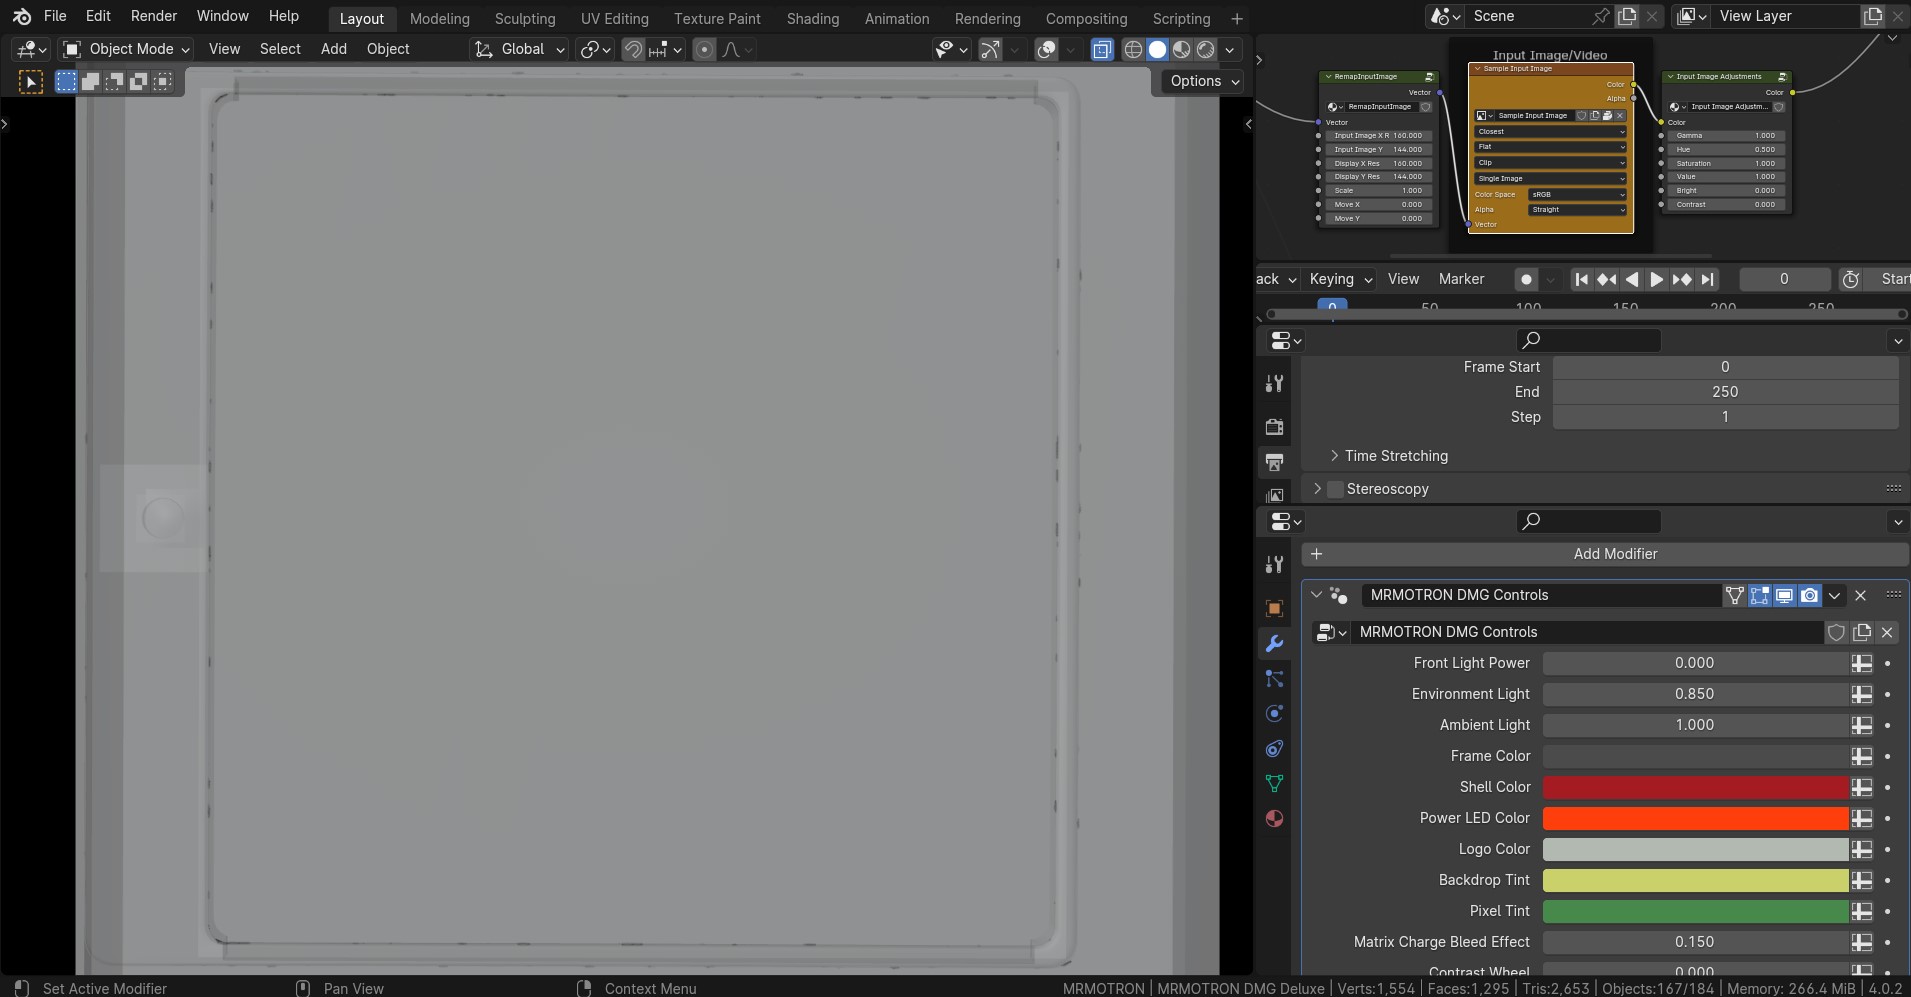
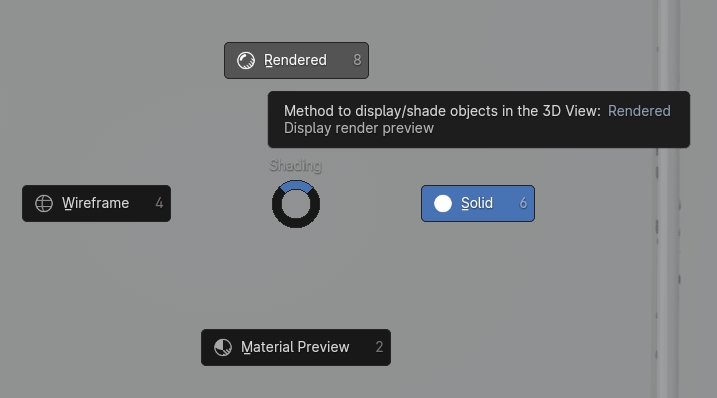
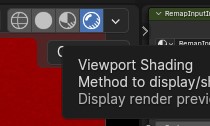
First, let's switch to "Rendered" mode, by either holding Z while hovering the mouse over the viewport area, and pulling the mouse up towards the "Rendered" option, or clicking on the right-most shaded ball icon in the top-right corner of the viewport.
Now you should be seeing the process in action- the sample input image is being rendered on the MRMOTRON virtual display!

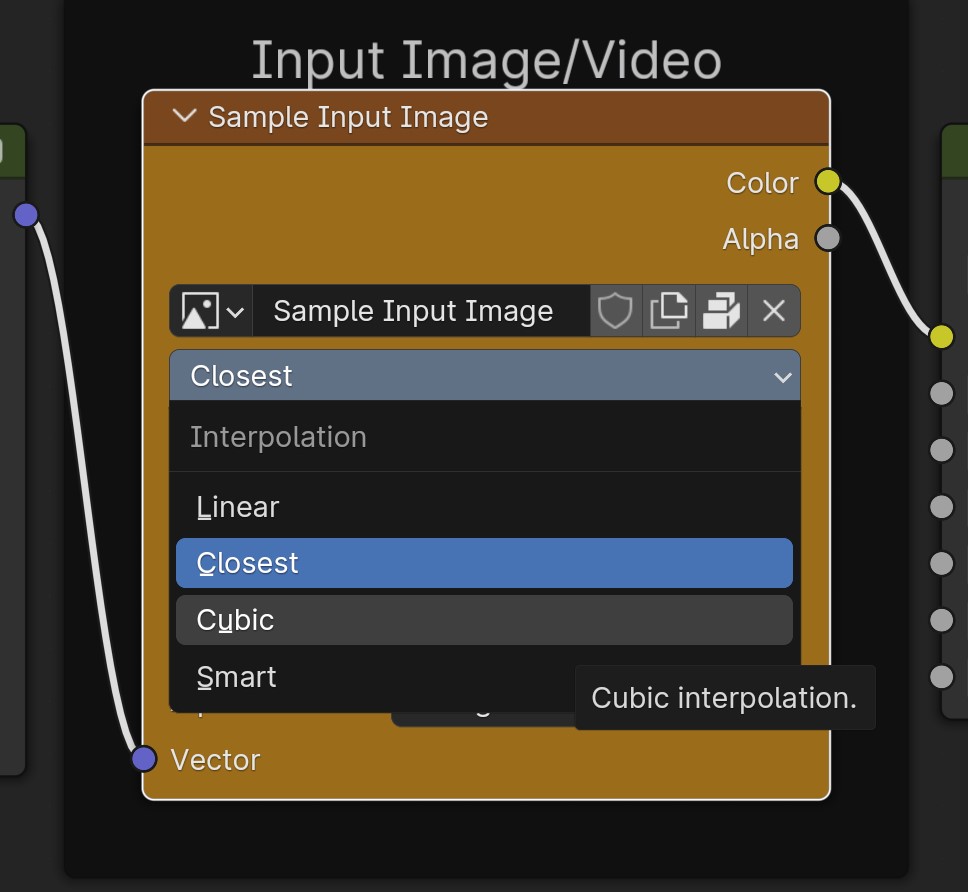
Let's change the input image: in the upper-right corner is the "Input Image/Video" frame with a "Sample Input Image" node. The sample input image is packed into the project file, so click the "X" to clear it, then click "Open" to choose your own input image to display instead!
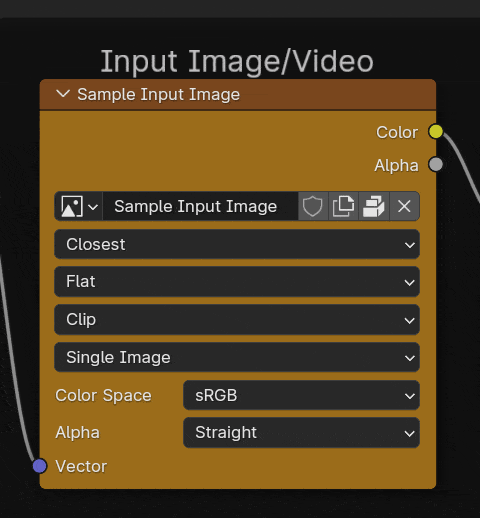
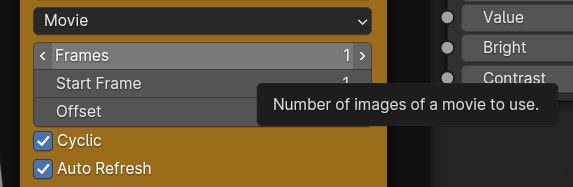
You can also load a sequence of images in the same way, as well as video files- any format that Blender supports should work. If you're loading a video, just be sure to set the "Frames" value to something higher than 1, depending on how many frames of your video you'd like to render.
If you want to render a single image, you can try doing it now by hitting "F12" or choosing "Render Image" from the "Render" menu. You should now be looking at a rendered image of the MRMOTRON display! You can save it using "Image->Save (or Save As)" from the menu, or using the "Alt-S" shortcut on the keyboard.
To quickly go back from the Render Result view to the "live" viewport preview, hit "Escape".
All "areas" in Blender can be freely customized- resized, split, joined etc. I divided the available workspace so that most of the relevant controls are easily accessible, but nothing stops you from rearranging everything in a different manner. All areas can be scrolled using the mouse wheel or by holding the middle mouse button while moving the mouse.

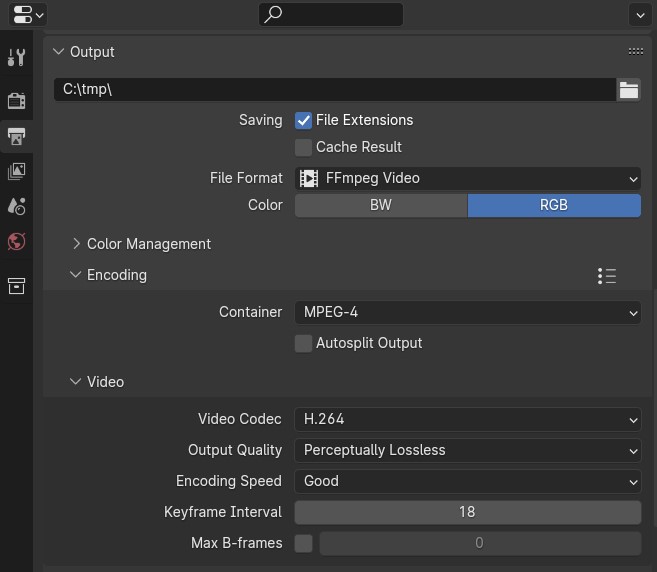
If rendering an animation, be sure to set the "End" value to the number of frames you'd like to render. You can change any rendering options in this area, including the resolution, output directory, as well as the format of the output. It renders .png frames by default, but you can easily change this to, for example, .mp4 video.
To the left and right sides of the Image Input node are the Remap Input Image and Input Image Adjustments nodes.
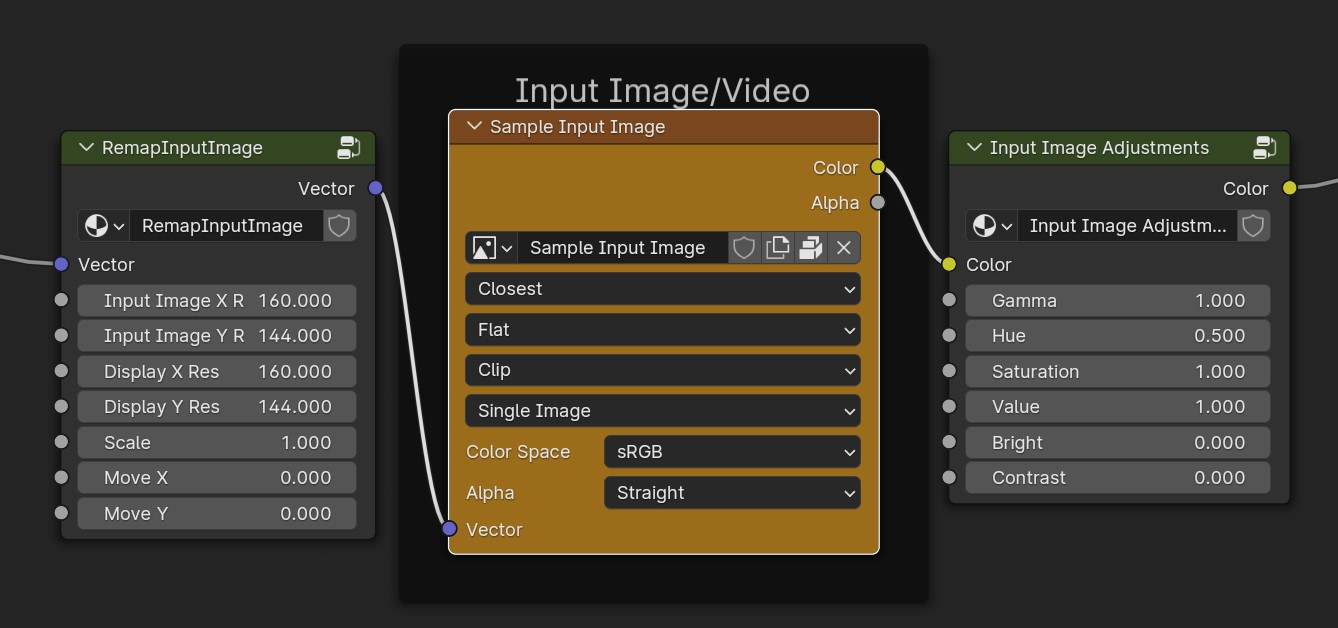
The "Input Image Adjustments" node lets you quickly modify the gamma, hue, saturation, value, brightness and contrast of your input image (or video) before it gets sent through the MRMOTRON process.
The "RemapInputImage" node allows you to modify the scale and position of the image relative to the "virtual resolution" of the MRMOTRON display. The first four parameters are used to calculate the image scale in proportion to the MRMOTRON display resolution; there's also an overall scale property, as well as the two "move" properties that allow you to reposition the image on the MRMOTRON display.
When rendering images that are larger than the resolution of the MRMOTRON display (for example, higher-resolution photos), you might want to change the image filtering from "Closest" to "Linear" or "Cubic"- it will help smoothing out the result!
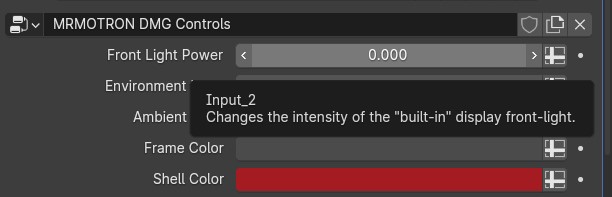
Finally, the main control panel for the MRMOTRON process is located in the lower right. All configurable properties have a short description of what they do within their tooltips while hovering the cursor above them.
I hope these instructions help you start using MRMOTRON quickly and easily!
Comments
Log in with itch.io to leave a comment.
Hi, I really love this package! Is there a way to exchange the text on the right side of the screen? I want to put my own company logo there.
Hey! You can do it by replacing the textures in the "Shell Material.J" material!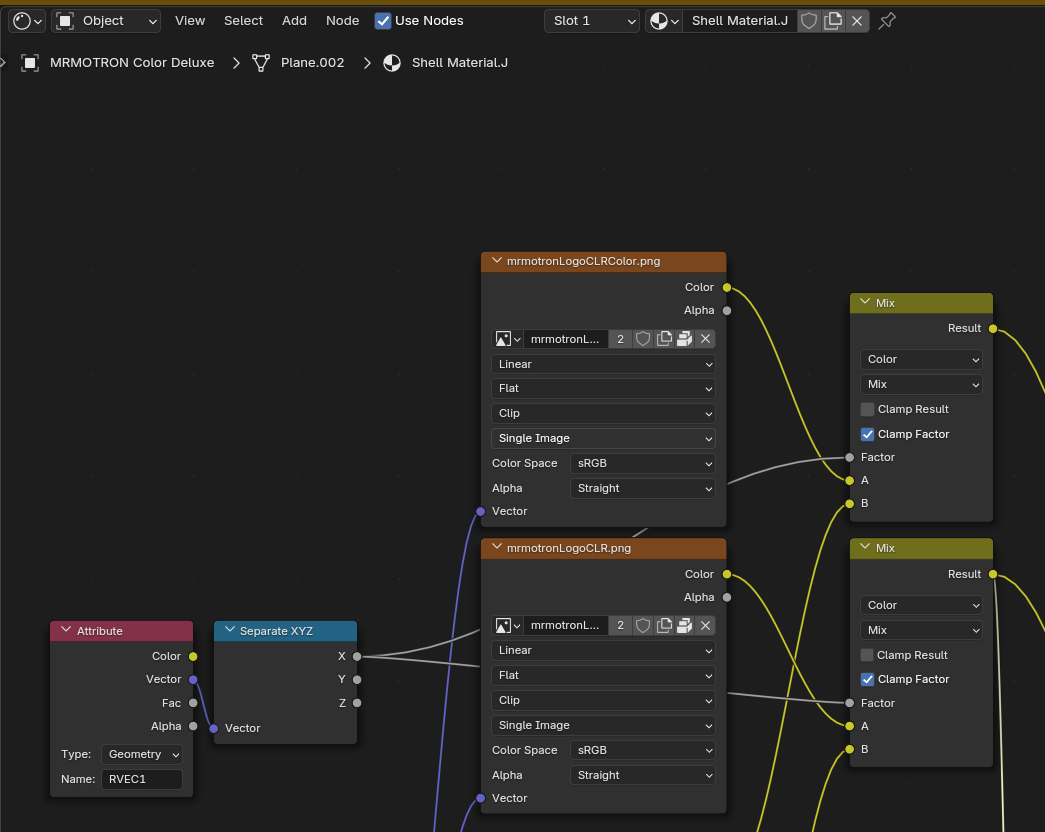
Hi, thanks for the reply! I found the node graph, but can't seem to get it working fully, as there is some masking and blending going on and I can't get it to just show the image with its original colors. (I'm a Blender noob)
The "shell" material is set up to receive two separate colors from the main geometry nodes "control panel"- logo color 1 and 2- and uses two textures to determine where those colors get mixed on the shell, as well as to raise the "print" level via bumpmapping so that it reflects the lights appropriately.
In order to use a full color image logo "print", you'd need to switch the two textures and edit the shader node connections. Basically, you need a black-and-white image of the logo to use as a "mask" and a full-color image to determine the colors, and then link the output from the first "mix" node like so, that it replaces the color attributes coming from geometry nodes:
Hopefully, this will give you the desired result!
Thanks so much for the detailed description!
I'm new to geo nodes so I'm not sure where to find this exact texture node. Can you help?
edit: Of course the second I ask I figure it out :D